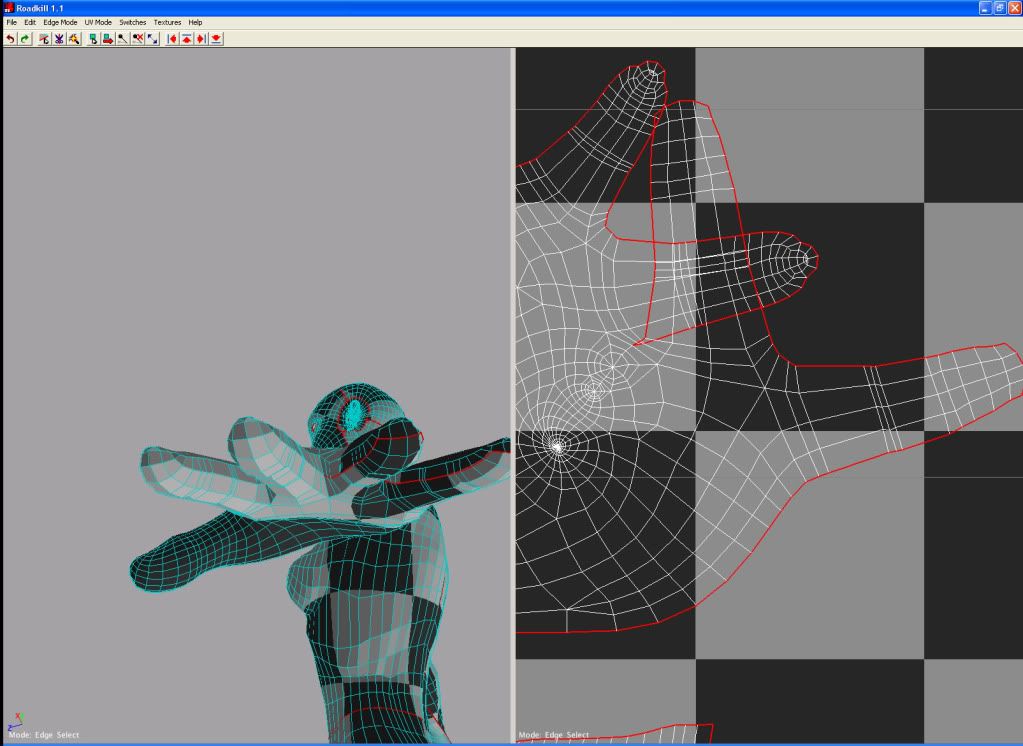
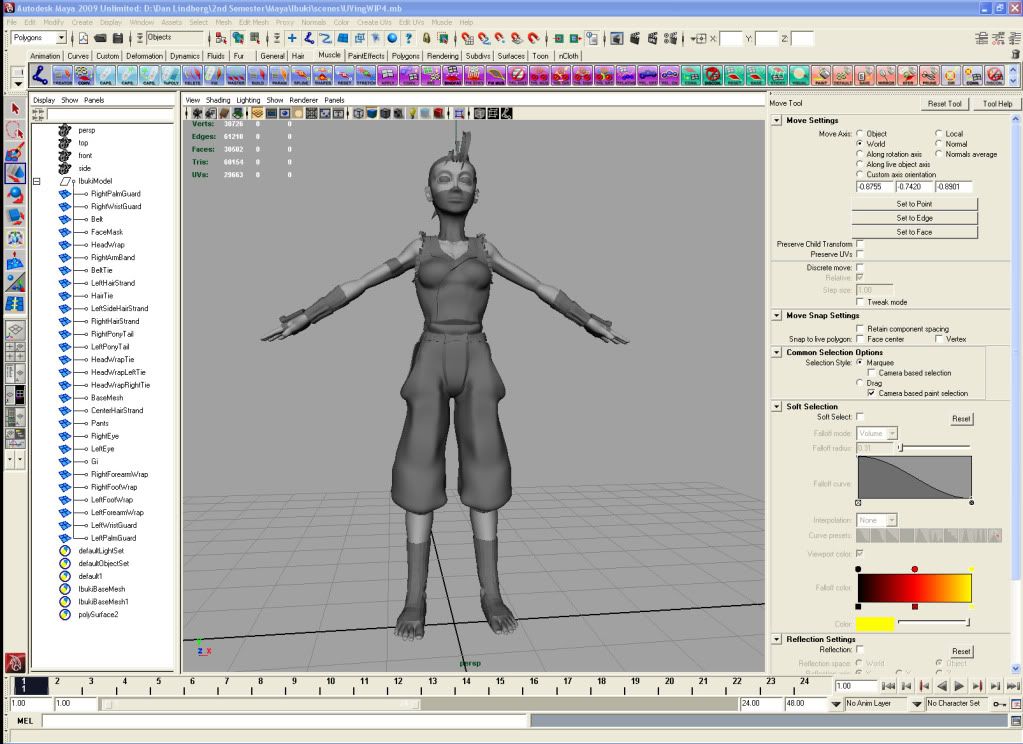
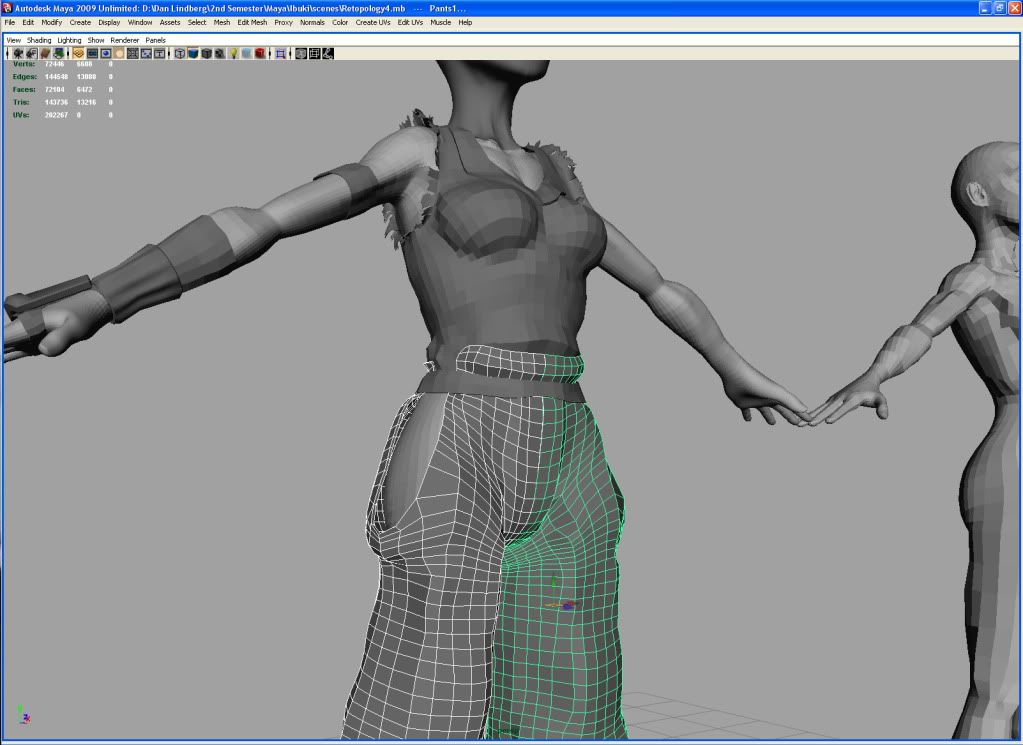
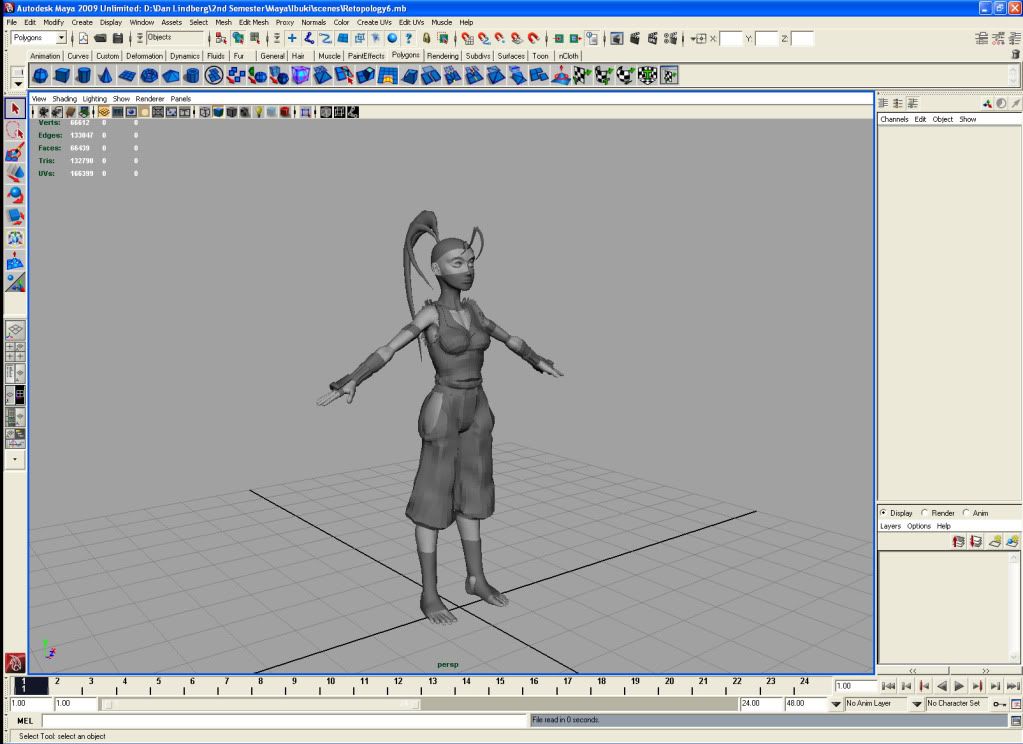
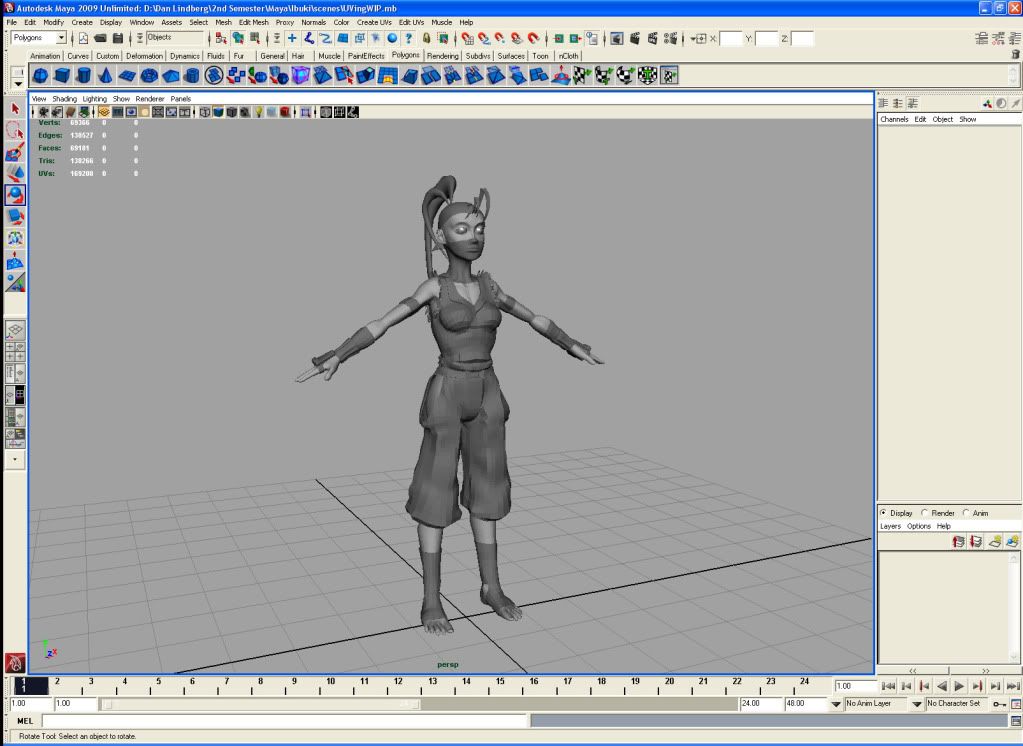
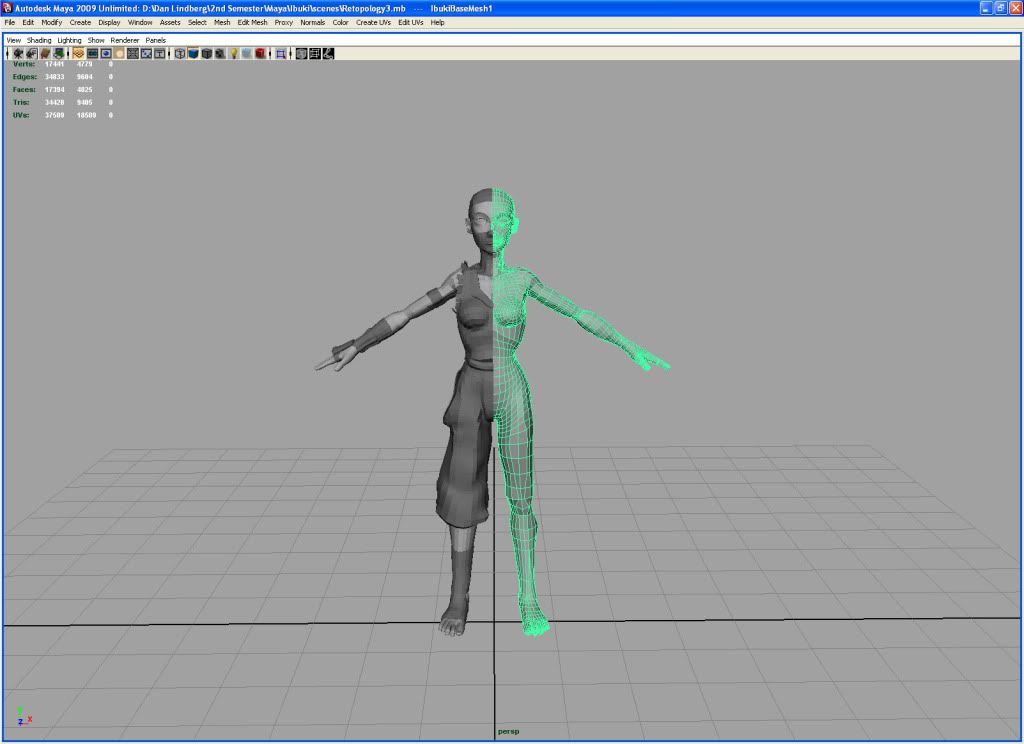
I ended up nuking a lot of the detail I had modeled in the previous week. I deleted all of the volumes the clothing had, basically converting almost every article of clothing to a poly plane because it was simply a nightmare to UV unwrap everything, especially the torn Gi sleeves. I could have left the UV's a mess, gone with little to no detail, relying largely on shaders, lighting and AO to fill in the blanks or used automatic UV's in zbrush but the point of this exercise is to learn other programs and techniques, like normal mapping, that I currently don't know. I also deleted the base mesh and reworked an older iteration because there was too much unneeded complexity, RoadKill was eating up over 50% of my computers physical memory, selecting a single edge had a delay of a few seconds, it was just unworkable.
The good news is it only took me two days to fix everything and make it as painless and simple as possible to UV everything.
I don't know how I would UV anything if it wasn't for RoadKill.
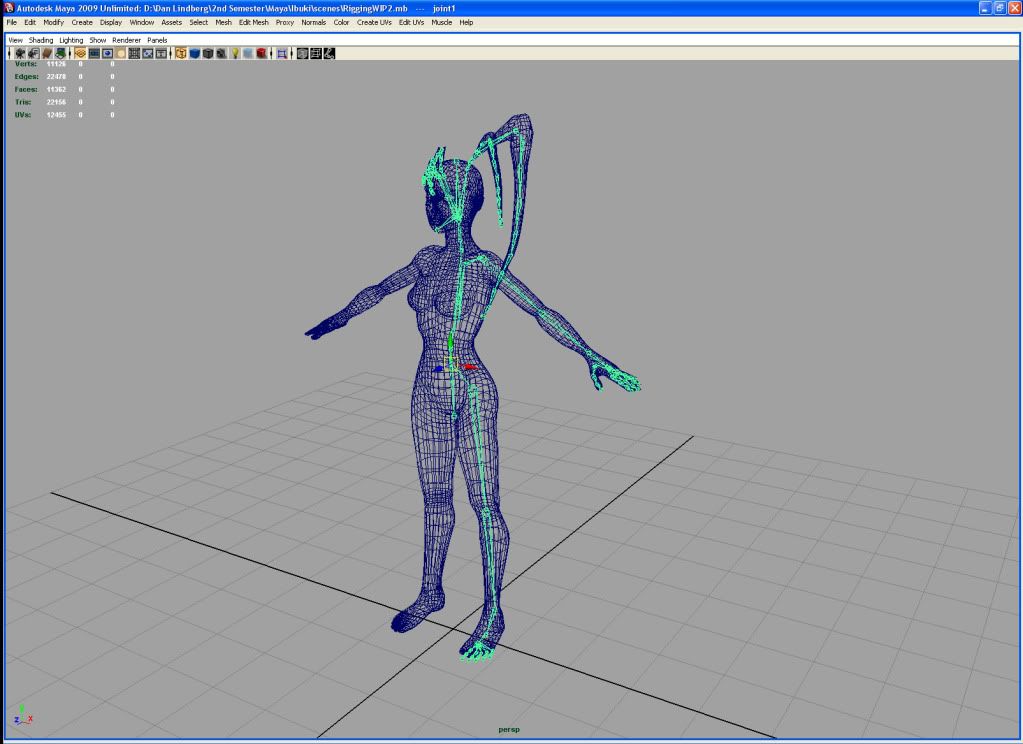
Now I can finally apply what I've been learning about rigging and skinning in Maya. By Wednesday I should have Ibuki fully rigged and skinned leaving just the texturing and normal mapping. The project's going a little slower than I would like but 3d always seems to take more time than you initially imagine.
Friday, May 29, 2009
Monday, May 25, 2009
Ibuki WIP, update 3
Edge flow was fixed, volume was added to most of the clothing, muscle system was used to shrink wrap various bits of the clothing better to the model, the ripped sleeves, hair strands, belt and head wrap ties were modeled and instances have been merged. Now I'm ready to UV and start to learn maya's rigging system.
I ganked XSI man's eyes and discovered I just have to do some quick resphaping with the head. The sockets aren't quite the right shape.
Tuesday, May 19, 2009
Ibuki WIP update 2
I've taken the base mesh of the character and the clothing out of zbrush back into, added volume to most of the clothing, fixed some of the edge flow and started making the details in maya that I couldn't in zbrush (the gloves and torn gi sleeves).
I re-exported the base mesh back into zbrush, increased the geometry by one subdivision and brought it back to maya and then used maya's muscle system to shrink wrap some of the clothing on to the base mesh.
I imagine that I'll have one more day of modeling details (hair and a few more bits of clothing) and merging the instances together and then I can move on to UV'ing and rigging. I'd probably be further along with this if I wasn't having to split up my time between school and looking for a new place to live. This project is going a little slower than I would like. But it's necessary to learn the ins and outs of the hyper shader and rigging in maya.
Tuesday, May 12, 2009
Ibuki WIP, update 1
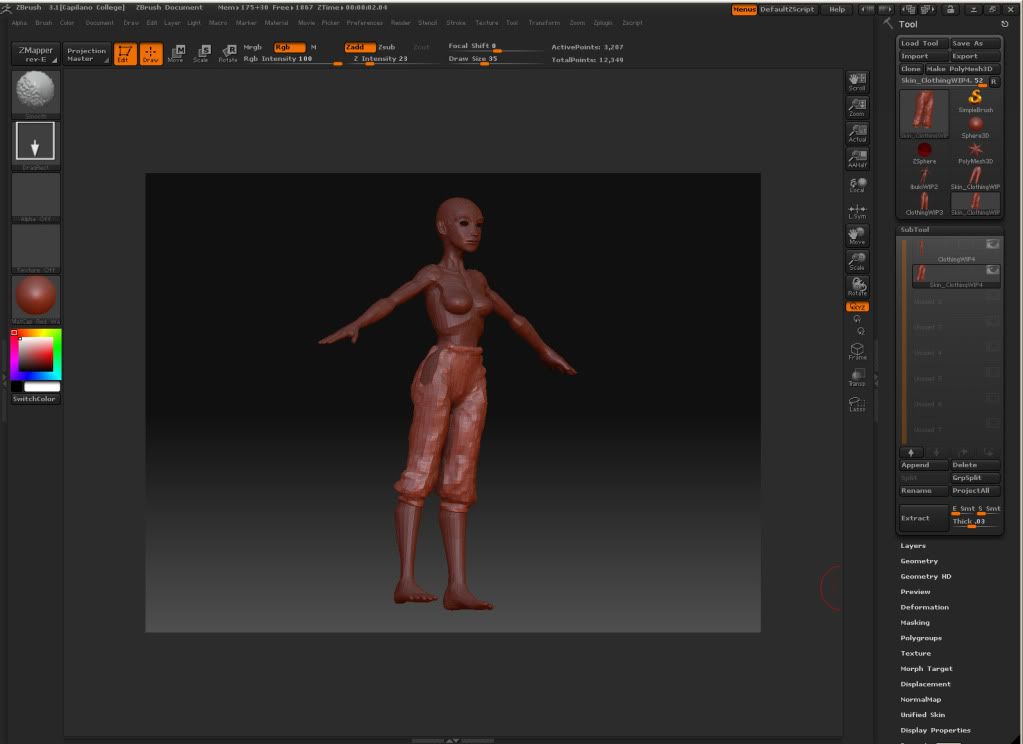
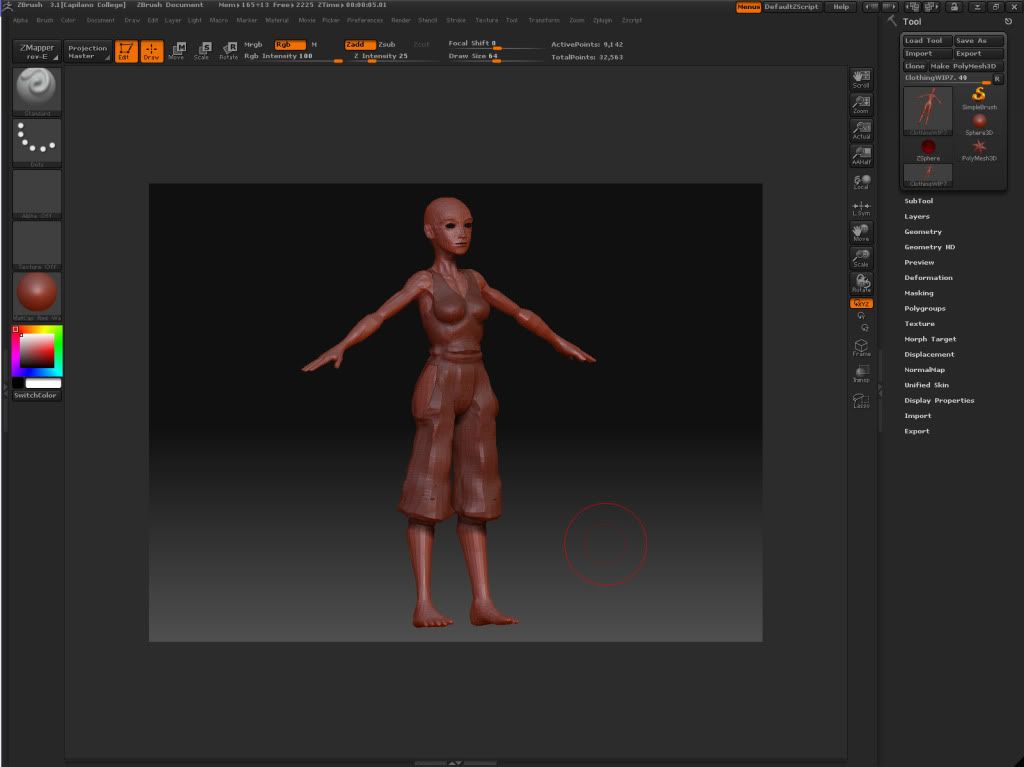
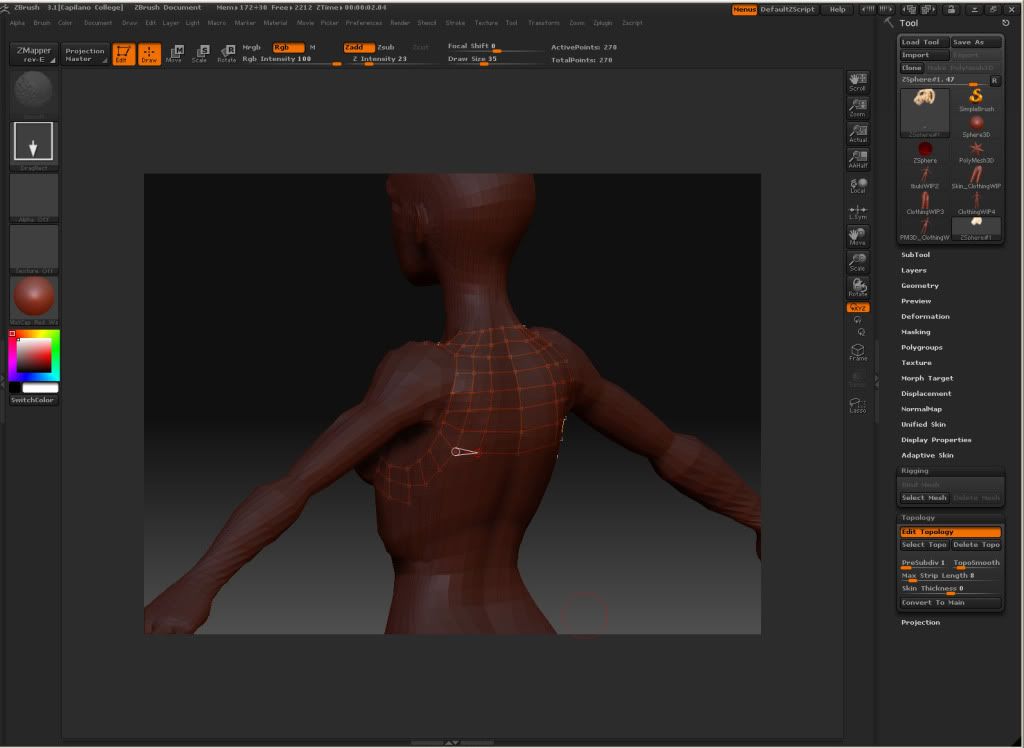
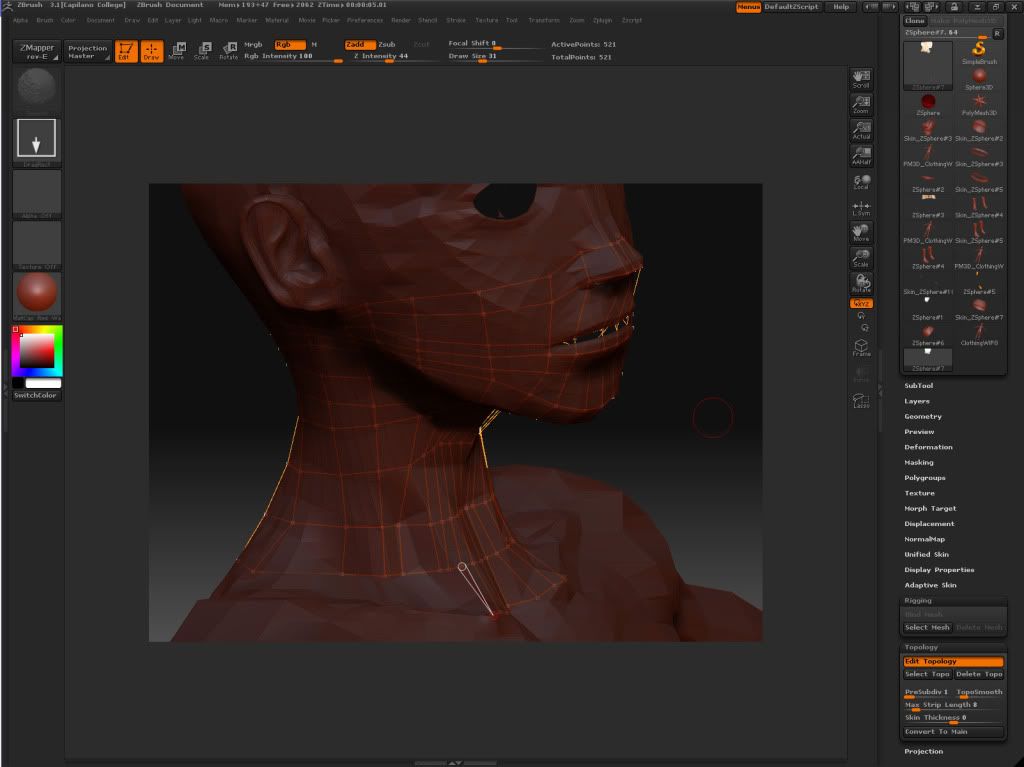
I've been mucking about with Zbrush for the last two days, I have become more accustomed to the interface and more familiar with the various brushes. It's such a powerful tool. I was able to make the clothing pretty painlessly through re-topology. once I finish off the arm bands I'll have the base meshes done. Then I can import all of the items as objs into Maya, clean up the topology a bit, make a few detail items (ripped sleeves, hair, etc.) and UV everything so I can normal map the character. If I decide to go that route.
Friday, May 8, 2009
Ibuki, a work in progress
While searching for a job I've come up with a make work project to help teach myself more of Maya (specifically rigging and using the hyper shader), to have better understanding of Zbrush and normal mapping as well as having something worth posting on CGTalk.
A classmate of mine made a pretty kick ass Chun-Li and that inspired myself and a some of my classmates to try our hand at making our own Street Fighter characters. I've chosen Ibuki, the ninja girl from Street Fighter 3.
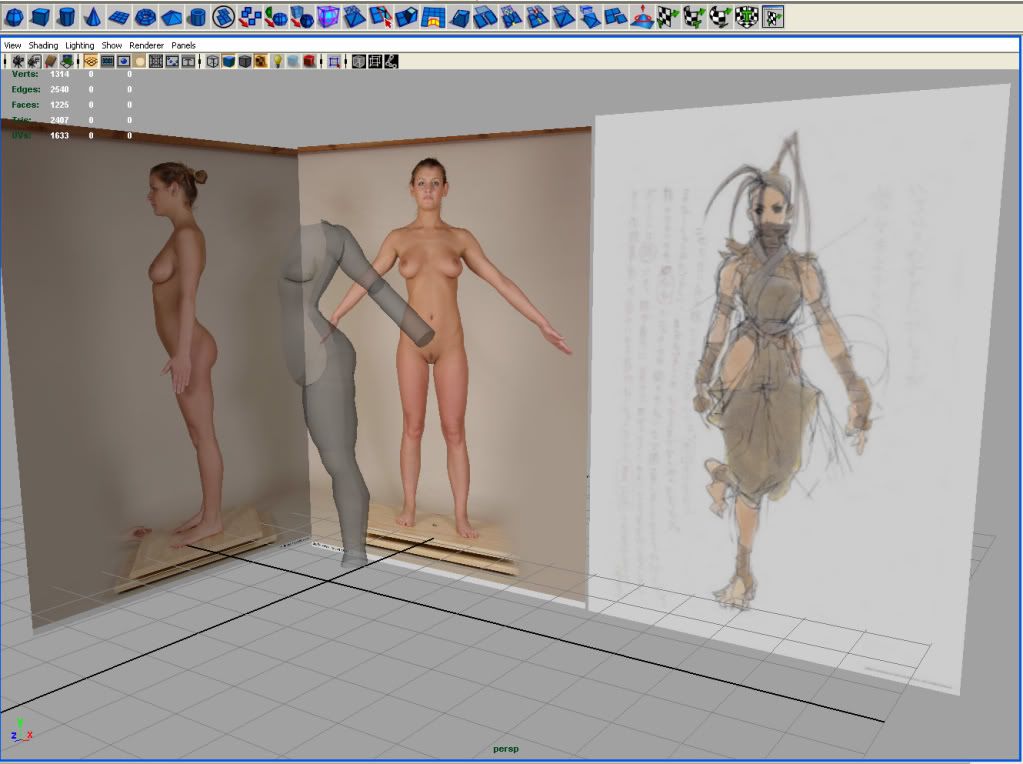
Since I'm not too comfortable using ZSpheres I started modeling the base mesh for the characcter in Maya 2009. This is the seventh thing, I believe, that I've modeled thus far and the first attempt at modeling a woman. I used this tutorial as a jumping off point because it showed a fair bit of process.
I kind of skirted the line between the reference and the artwork.
The torso was based off of a cylinder as were the arms and the legs. Since I'm not too worried about the topology I just boolean'd the cylinders together with spheres to get the shape of the shoulders and the butt and cleaned up the mess as I went along. I didn't want to spend too much time manipulating vertices and what not since I was going to fix it in Zbrush.
I ganked the hands, feet and ears off of xsi man, the head started off as the simple woman's head you can generate from primitive>characters in xsi took them into Maya as obj's and frankenstien'd everything together. The hands, feet and ears are largely the same but the head had to be modified quite a bit. this is what I ended up with this.
I dubbed the base mesh He-Ra Princess of Power. The shoulders were way too large, the neck was too thick from the front view and the head was too long and tall, but that's what Zbrush is for.
After working on the character in Zbrush for a while I ended up having to export my base mesh back into Maya from Zbrush to clean up some of the geo and fix some of the vertices. They weren't quite center and the symmetrical sculpting in Zbrush was getting thrown off. Here's what I have to take back into ZBrush.
Definitely looking a bit more feminine and stylised but the neck looks a little too long, as does the lower half of her body. Nothing I can't fix in ZBrush. Once I get the proportions and the shape exactly where I want them to be I'll take the base mesh back into Maya, fix whatever topology issues the mesh has, create the base mesh for her costume and UV everything so I can normal map it all. I think most of the normal mapping will be done on her clothing but her body will definitely need at least one higher level of subdivision to smooth it all out.
Overall I'm pretty happy with the project up to this point, I've finally started to wrap my head around ZBrush's interface and modeling with ZBrush is so much more fun, artistic even, than the ol' extrude, point/face/edge manipulation.
By the end of next week I hope to have Ibuki ready to be textured and rigged. Then I can move on to learning how to animate in Maya. I can start off with some simple animated poses with Ibuki and then segue into doing full on animation with some downloadable rigs. I want to have an entirely new portfolio and demo reel to take around to all of the studios I've just applied to.
Next week I hope to have a complete or nearly complete modeled/normal mapped character to post.
A classmate of mine made a pretty kick ass Chun-Li and that inspired myself and a some of my classmates to try our hand at making our own Street Fighter characters. I've chosen Ibuki, the ninja girl from Street Fighter 3.
Since I'm not too comfortable using ZSpheres I started modeling the base mesh for the characcter in Maya 2009. This is the seventh thing, I believe, that I've modeled thus far and the first attempt at modeling a woman. I used this tutorial as a jumping off point because it showed a fair bit of process.
I kind of skirted the line between the reference and the artwork.
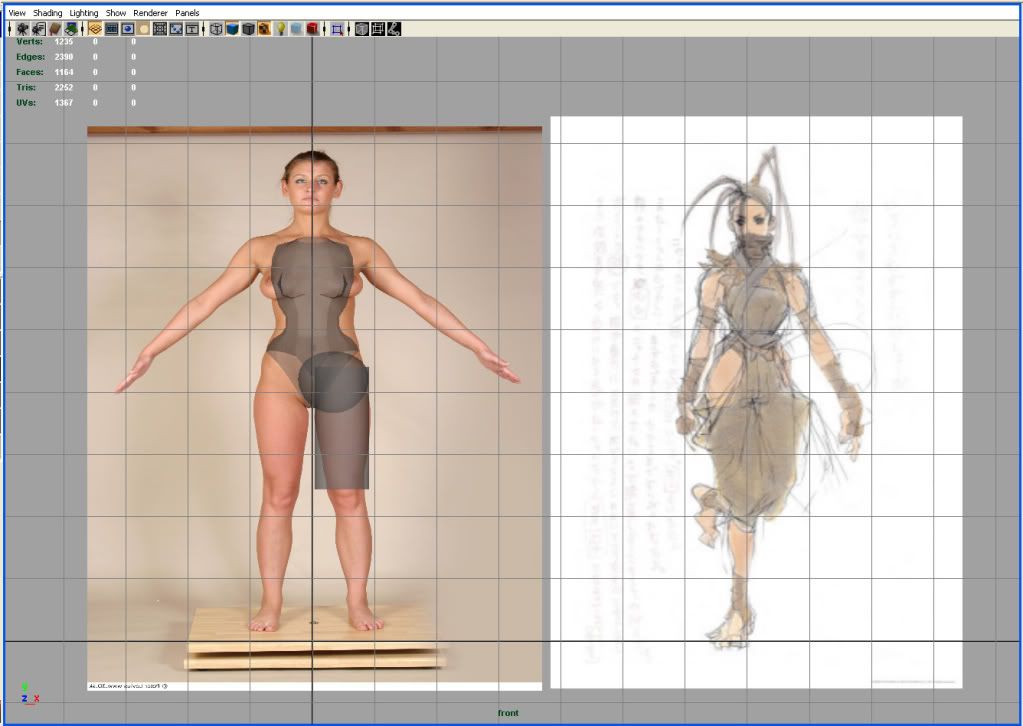
The torso was based off of a cylinder as were the arms and the legs. Since I'm not too worried about the topology I just boolean'd the cylinders together with spheres to get the shape of the shoulders and the butt and cleaned up the mess as I went along. I didn't want to spend too much time manipulating vertices and what not since I was going to fix it in Zbrush.
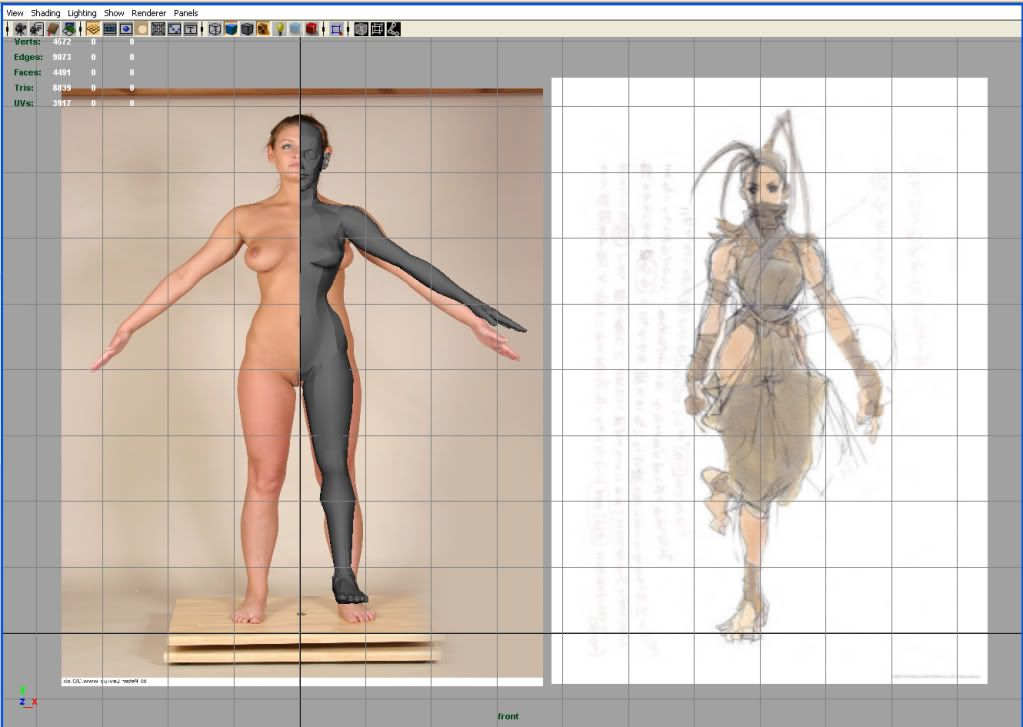
I ganked the hands, feet and ears off of xsi man, the head started off as the simple woman's head you can generate from primitive>characters in xsi took them into Maya as obj's and frankenstien'd everything together. The hands, feet and ears are largely the same but the head had to be modified quite a bit. this is what I ended up with this.
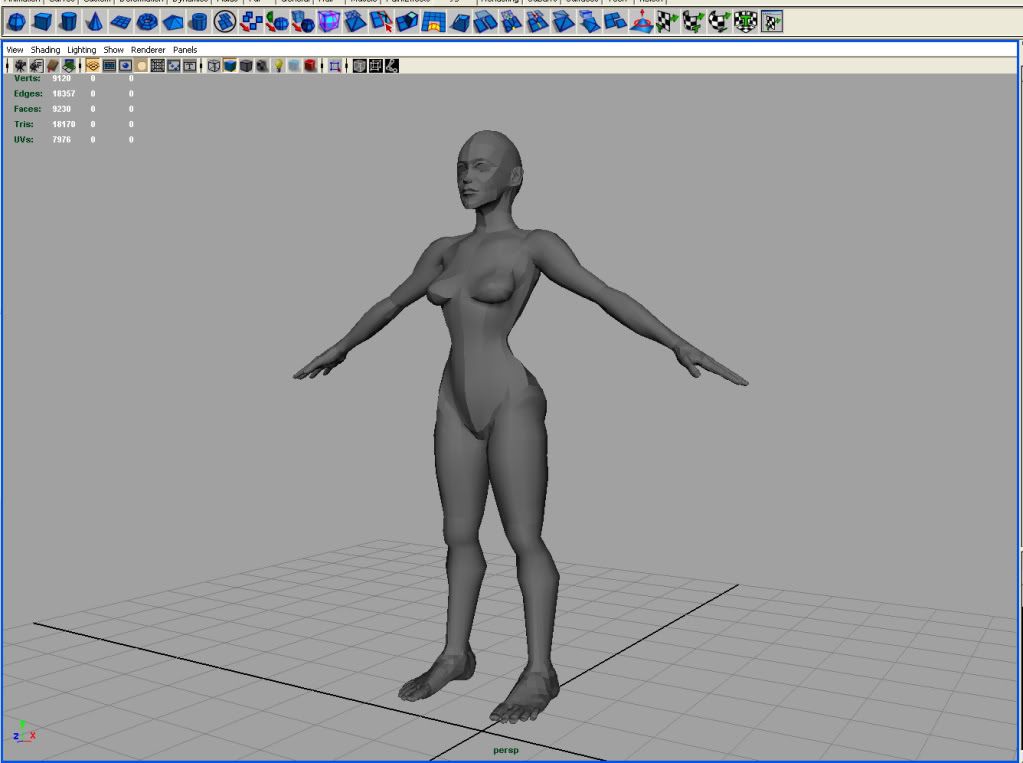
I dubbed the base mesh He-Ra Princess of Power. The shoulders were way too large, the neck was too thick from the front view and the head was too long and tall, but that's what Zbrush is for.
After working on the character in Zbrush for a while I ended up having to export my base mesh back into Maya from Zbrush to clean up some of the geo and fix some of the vertices. They weren't quite center and the symmetrical sculpting in Zbrush was getting thrown off. Here's what I have to take back into ZBrush.
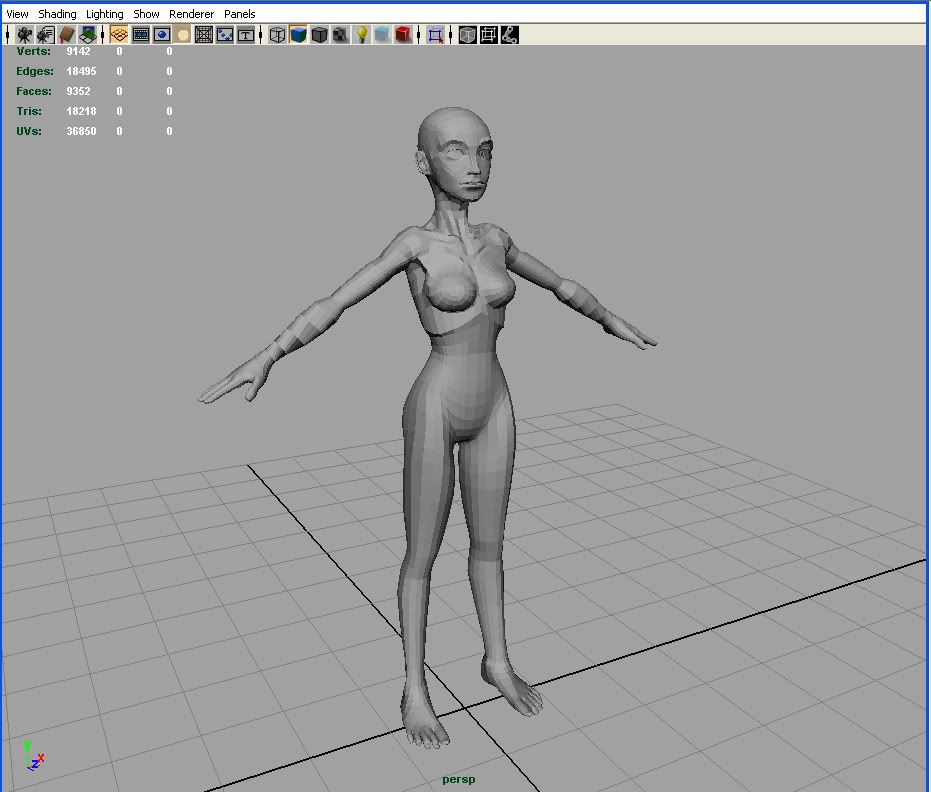
Definitely looking a bit more feminine and stylised but the neck looks a little too long, as does the lower half of her body. Nothing I can't fix in ZBrush. Once I get the proportions and the shape exactly where I want them to be I'll take the base mesh back into Maya, fix whatever topology issues the mesh has, create the base mesh for her costume and UV everything so I can normal map it all. I think most of the normal mapping will be done on her clothing but her body will definitely need at least one higher level of subdivision to smooth it all out.
Overall I'm pretty happy with the project up to this point, I've finally started to wrap my head around ZBrush's interface and modeling with ZBrush is so much more fun, artistic even, than the ol' extrude, point/face/edge manipulation.
By the end of next week I hope to have Ibuki ready to be textured and rigged. Then I can move on to learning how to animate in Maya. I can start off with some simple animated poses with Ibuki and then segue into doing full on animation with some downloadable rigs. I want to have an entirely new portfolio and demo reel to take around to all of the studios I've just applied to.
Next week I hope to have a complete or nearly complete modeled/normal mapped character to post.
Subscribe to:
Posts (Atom)