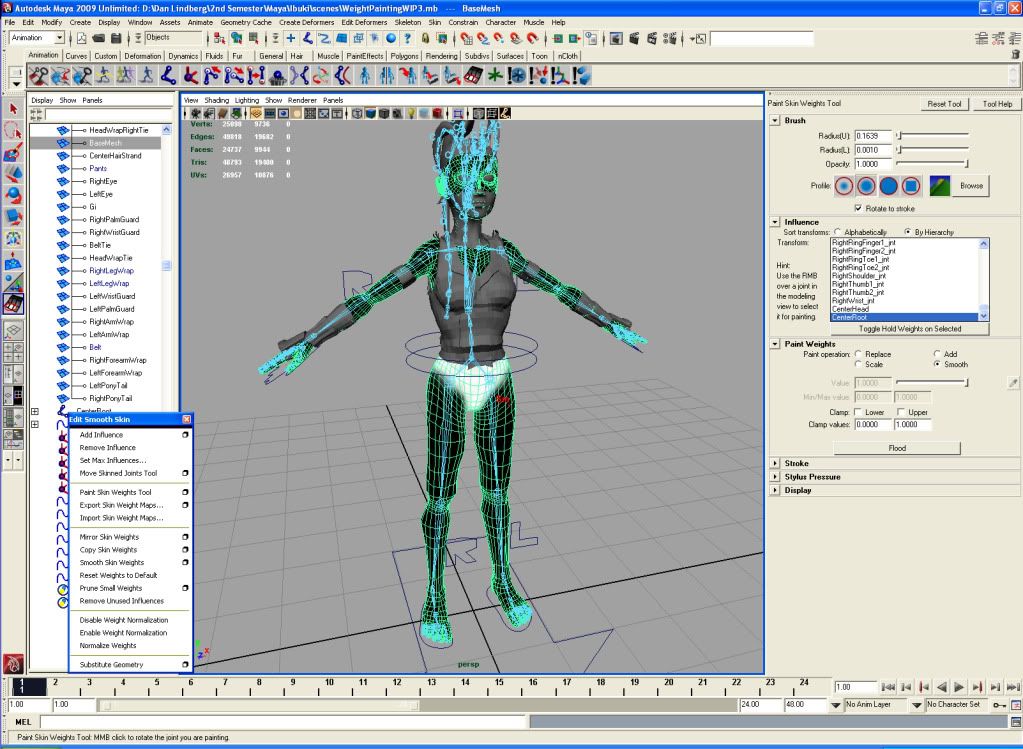
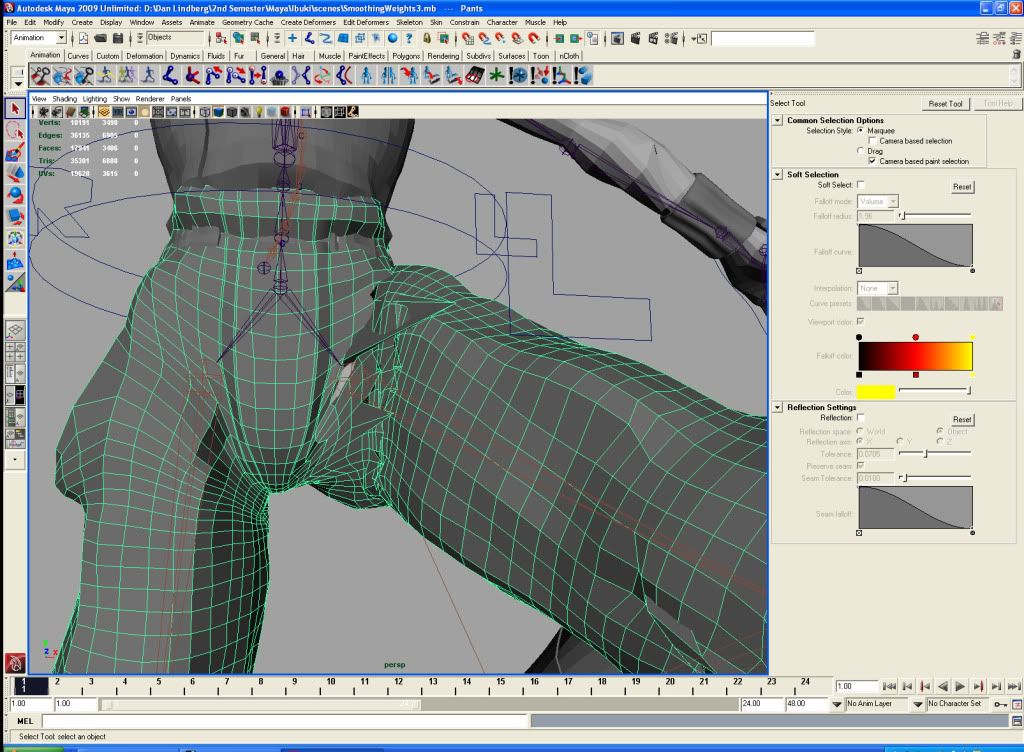
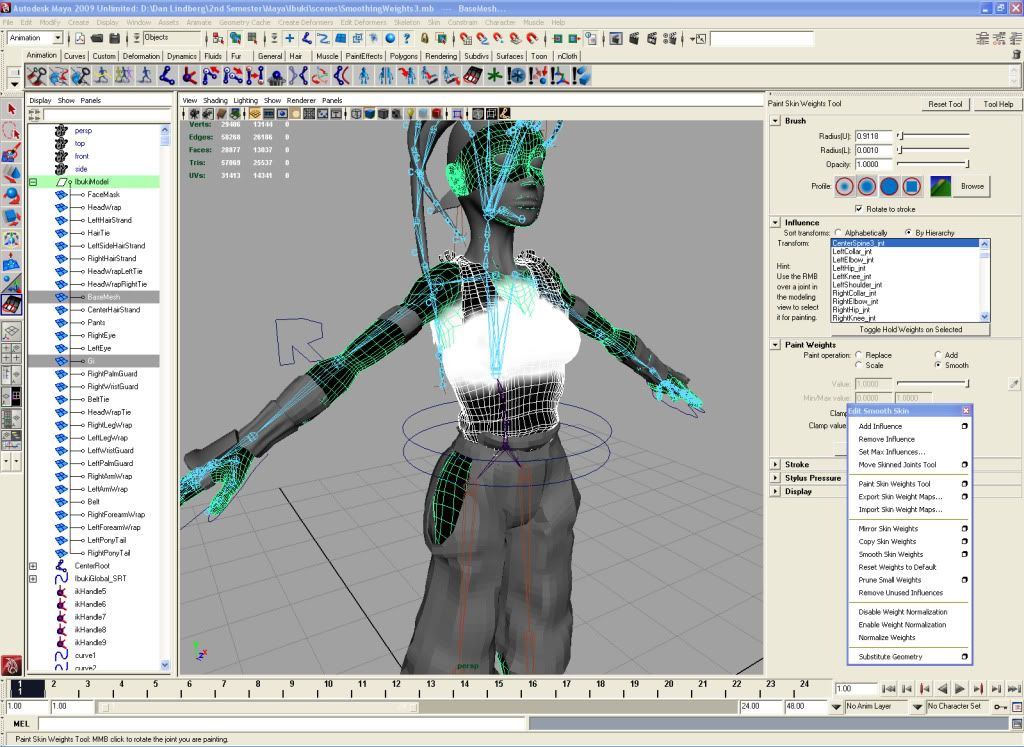
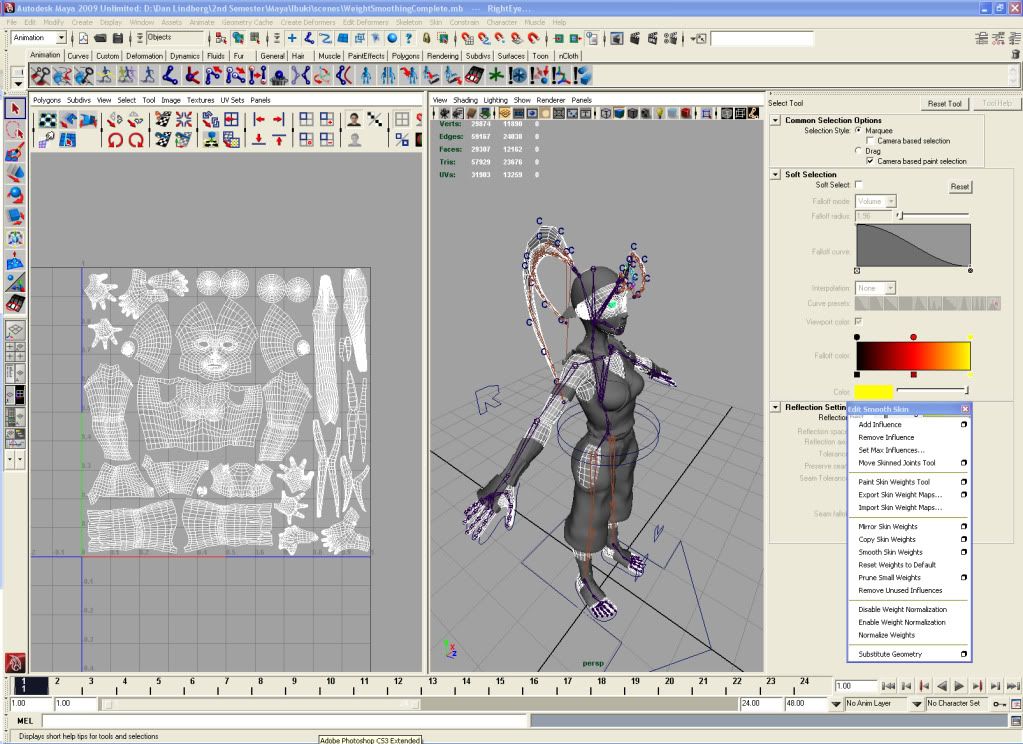
Weight painting has been a bit of an exercise in frustration, partially because I'm learning how to do it in a new program and I always seem to struggle with achieve the level of deformation that I want but I've also been encountering this weird issue with the smoothing brush. Every time I try to smooth the values between two joints I get this anomaly where a small percentage of deformation value is assigned to what seems to be a really random joint far, far down in the hierarchy. Like the ball of the foot joint will somehow control some small percentage of the values of a bit of geometry that should be entirely controlled by the C.O.G. or hip joint. It's been kind of maddening trying to fix all of these little weird niggling issues.
The weight painting is done, for now, I'm fairly certain that once I start to animate or pose the character I'll encounter some hideous issues. That always seems to happen. At least I can finally move on to texturing and normal mapping. I may have to come up with some basic eye constraints, or I could just get by with simply rotating her eyes when I pose her.
I can see the light is at the end of the tunnel.
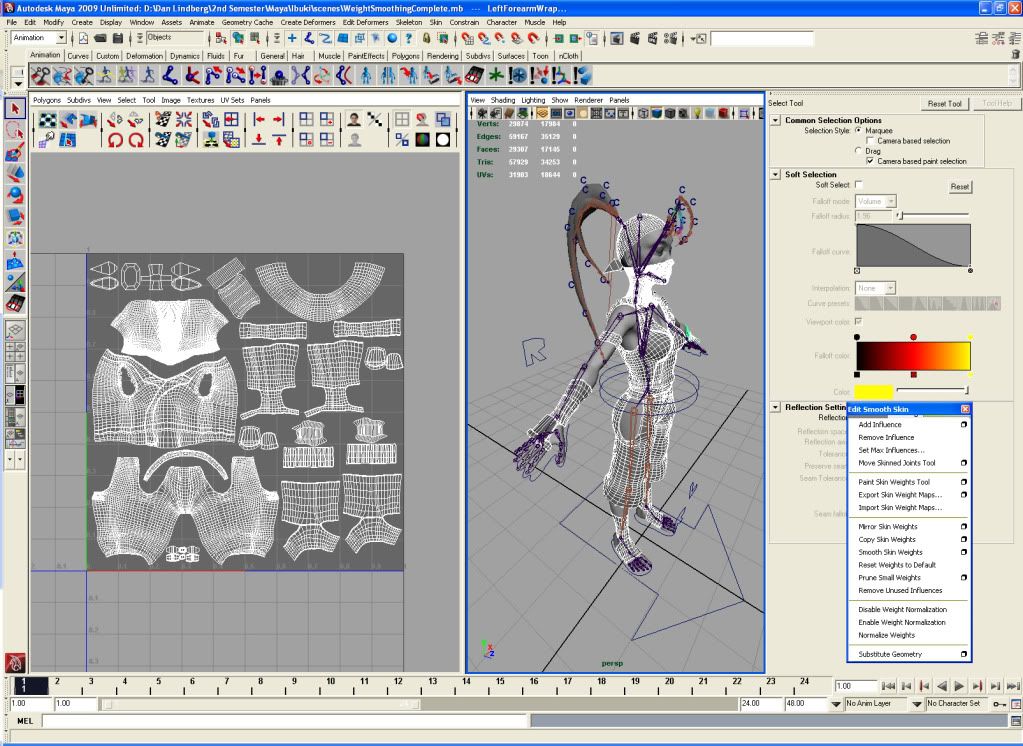
Here are my (likely less than impressive) UV's. I have no aspirations to be a texture artist so my UV maps probably aren't organized as effeciently as they could be, there's probably some space I could maximiaze a bit better, but whatever. There's no overlapping UV's, which I understand would be my largest cause for concern when normal mapping.
Monday, June 15, 2009
Subscribe to:
Post Comments (Atom)
No comments:
Post a Comment