Friday, June 19, 2009

3 steps back, 1 step forward

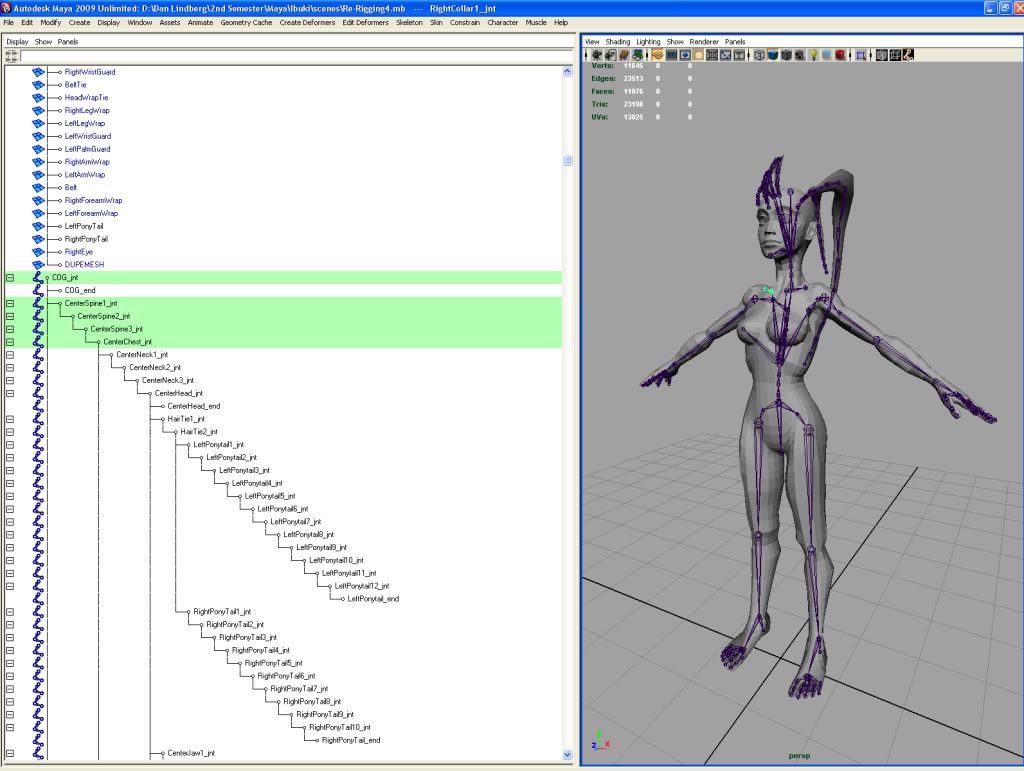
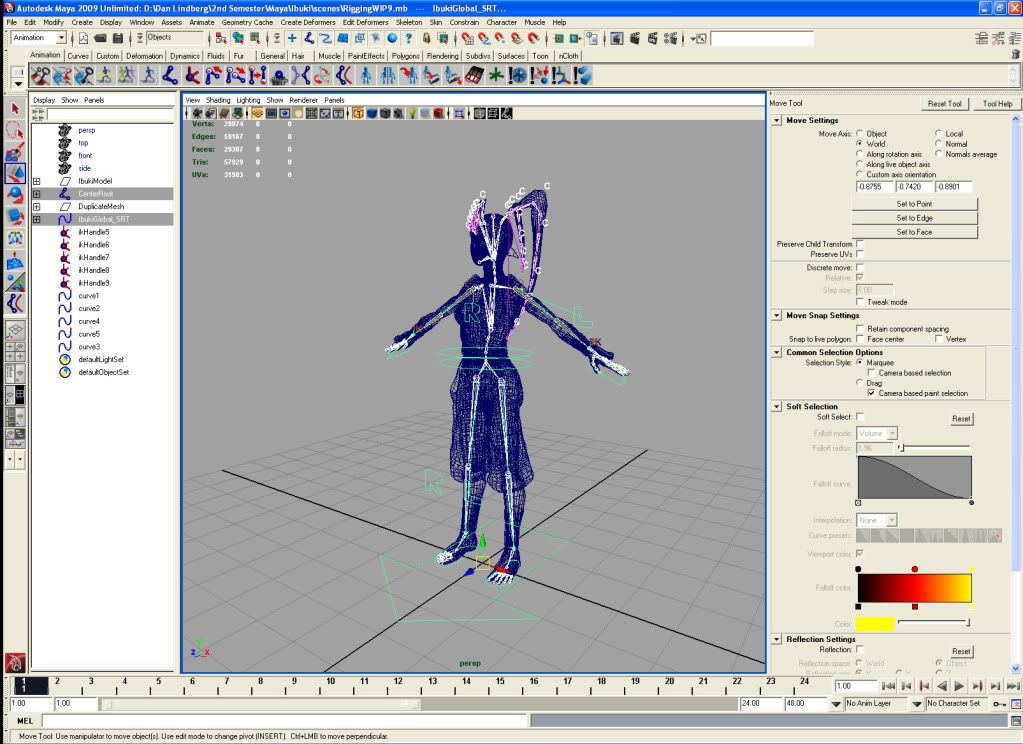
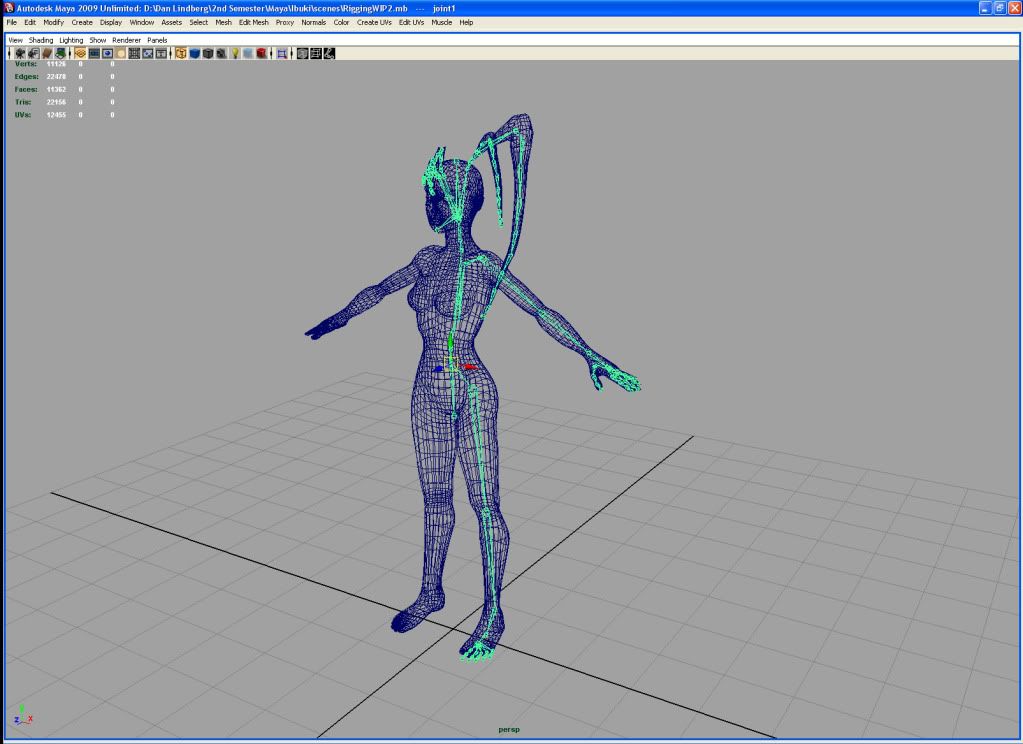
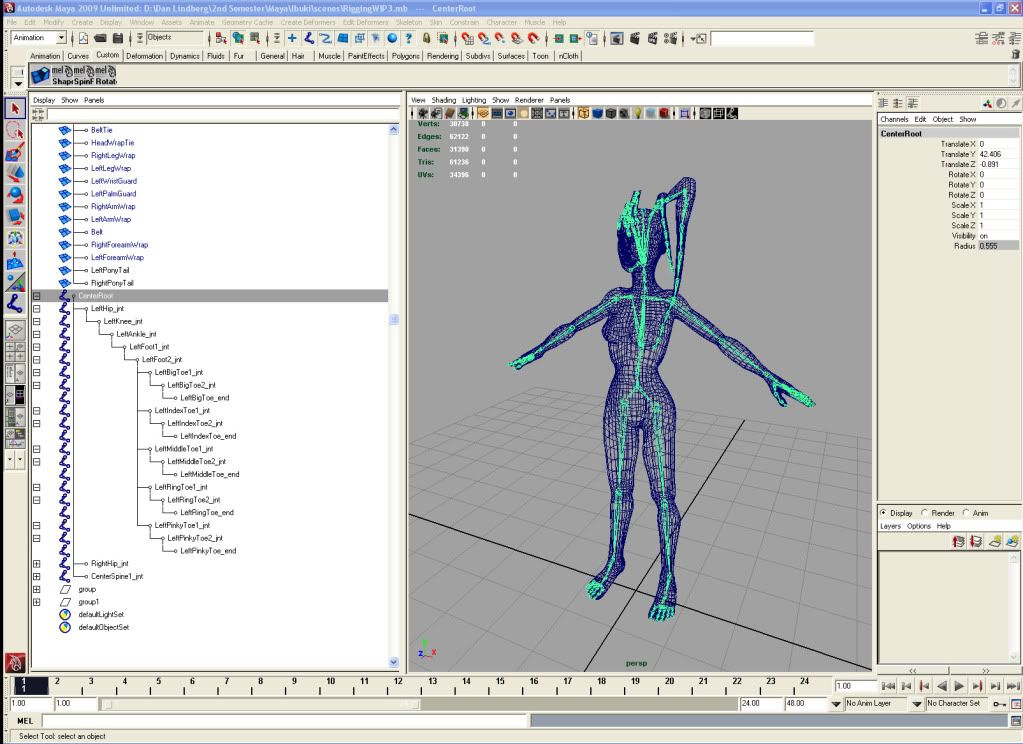
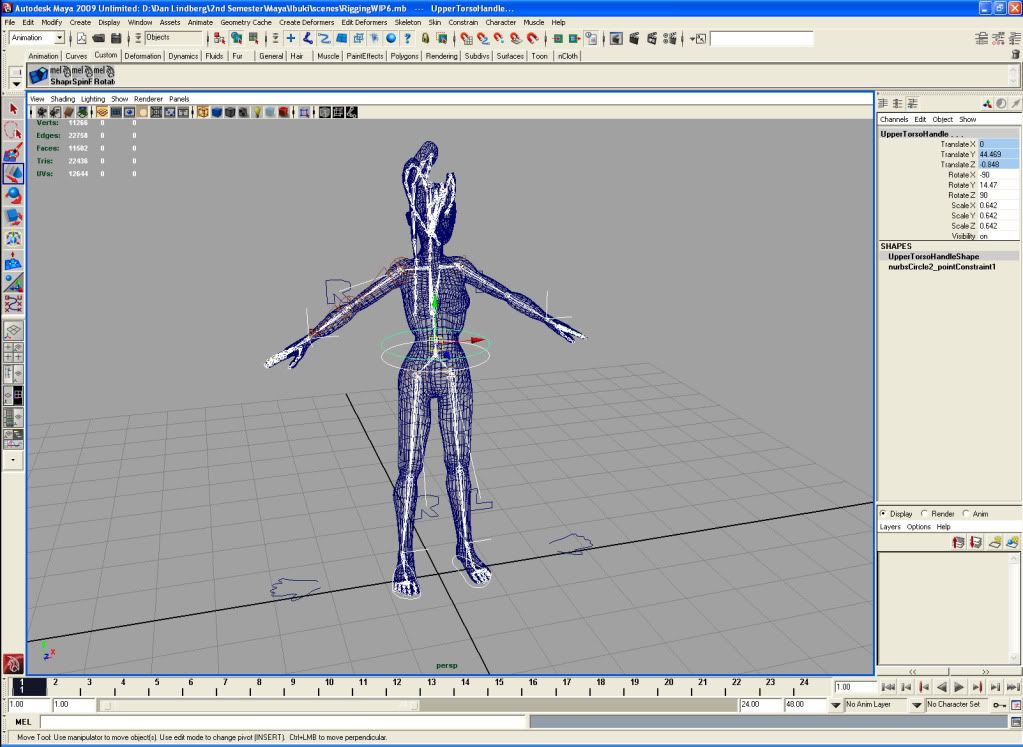
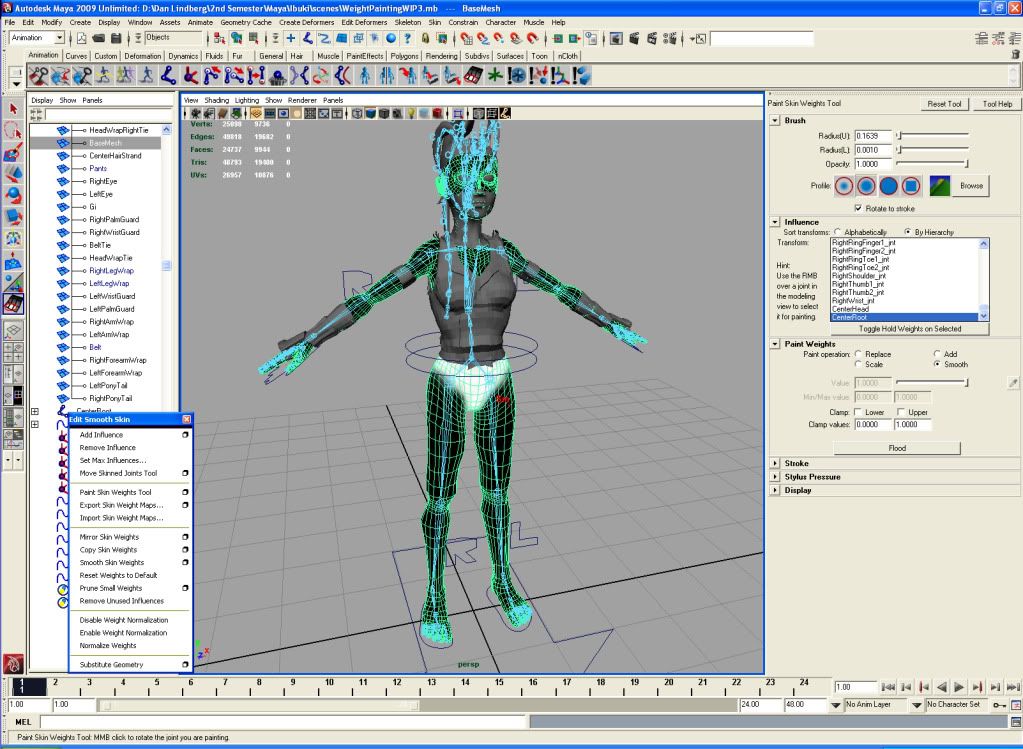
I don't know if I'm stubborn or stupid, probably a bit of both, but I've decided not only to get rid of my old weight map but my rig and constraints as well. The old weight map was simply too far gone and the old rig and constraints were simply too limited. I also took the opportunity to improve the edge flow of certain areas of my base mesh, add edge loops in others to help improve how the character deforms as well as some quick modeling touch ups. The new rig, as pictured below, has more Joints that will require more work with the weight painting but in the end it will deform better. Hopefully.

A thoughtful friend emailed me a link where I could download some mel scripts for custom skinning tools, thanks Brendan. I was able to addthe script and play around with it a bit today, the mel appears to combine the component editor and weight painting tools in one easy to access menu. We'll see how the weight painting goes tomorrow. When I skin I'll make sure to remove the unnecessary influences--like Ankle Joints from the Pants geo--and hold bones when painting values and smoothing. If there are any anomalies, which I suspect there will be when I smooth, I'll just have to delve into the component editor and manually remove the aberrant values.

I'm not certain if this is the best hierarchy I could have come up with, I couldn't figure out exactly how I wanted the shoulder blades and collar bones connected. I ended up going with having the collar bones seperate from the shoulder blades and arms, we'll see if I come to regret that later. Given that this will probably just be posed I'm not too worried about the hierarchy, it would probably suck to animate though.

Also I took this opportunity to add in the secondary action you were asking for Singh.
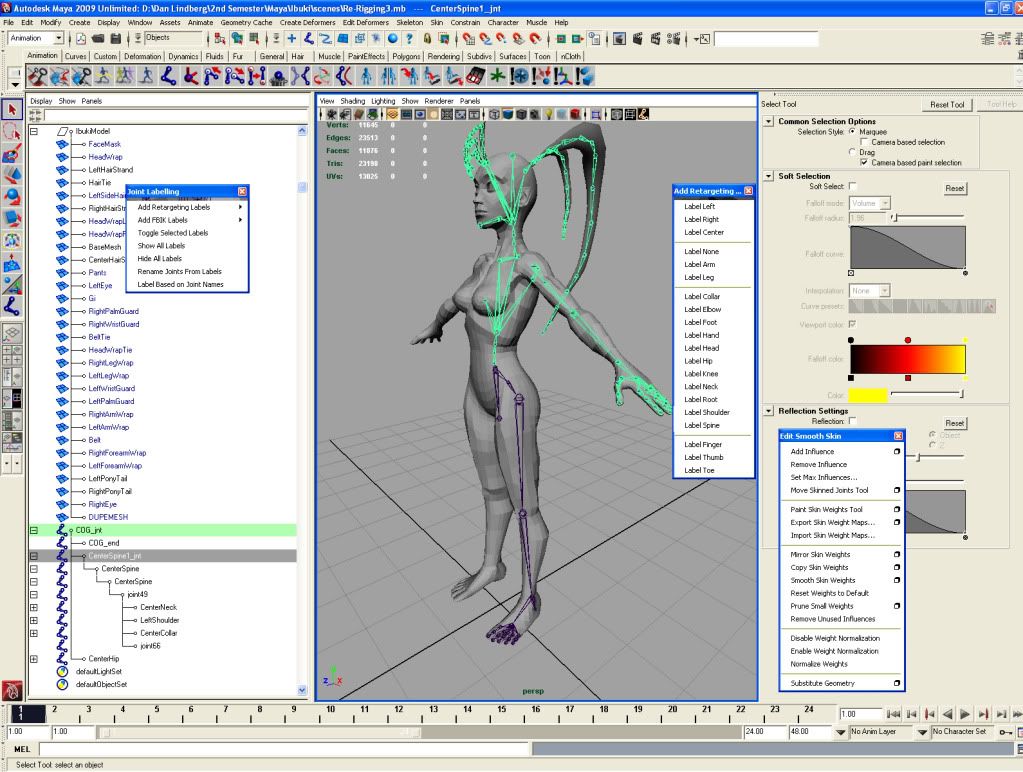


I did have even more joints in the thigh, calf, and rib cage but I figured that was going a bit overkill and probably into territory where the muscle system should be used to maintain volumes. Once I have some more experience with rigging I might try some more complicated rigs involving even more Joints to maintain volumes and deform better.

The process should go by quicker given that it's not exactly my first time doing it now. I was able to do my quick fixes and recreate the rig in about half the time it took me on my first attempt. Today was a much better day than the last few.

Wednesday, June 17, 2009

Ibuki WIP, update 8

I am frustrated beyond belief with Maya's weighting tools, my understanding of them is clearly lacking and I simply cannot get the kind of deformation that I want with this character. I keep getting these anomalous values and I don't know how to make Maya stop doing that. I need to watch some more tutorials and figure this out since it's supposed to be a part of my new demo reel.

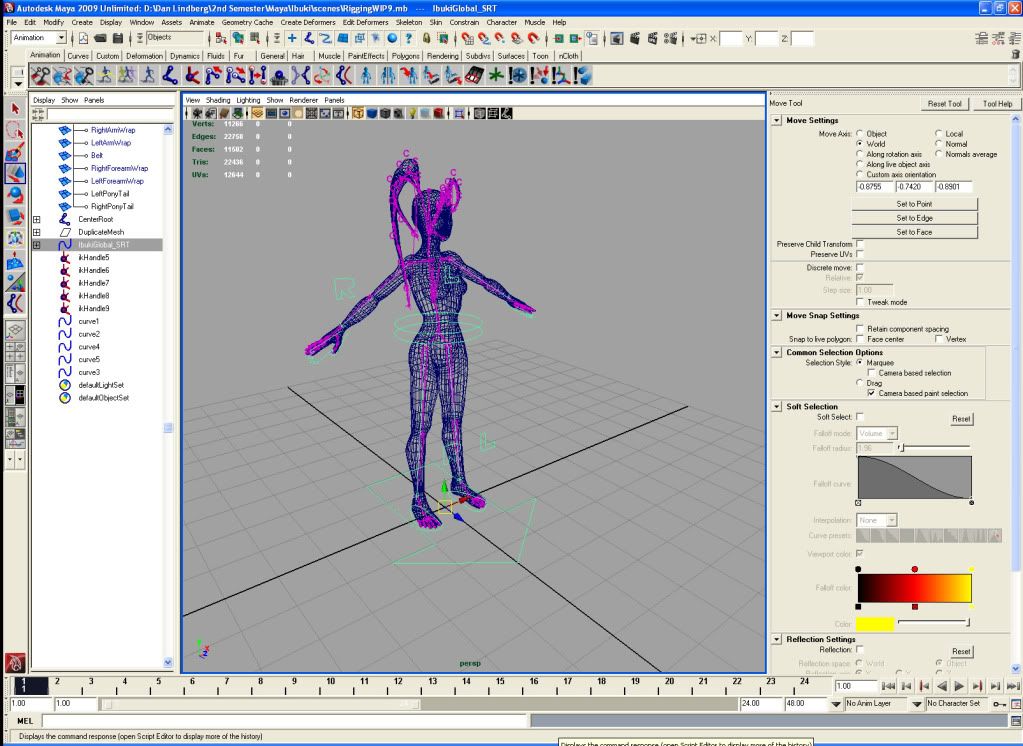
Here's the rough pose I'm going to end up rendering the character off in. At this juncture I'm unsure if I want to attempt to do some basic animations with this character, the rig is really basic. I also want to get on to simply doing some animation, no more modeling or rigging or dealing with issues that arise because of either.

Tuesday, June 16, 2009

Today I learned an important lesson

And that's the difference between Delete All By Type > History and Delete All By Type > Non-Deformer History and what it means to and does to your rig. One option deletes your modeling history, the other sodomizes your rig. Normally I'm pretty good about iterating saves and testing out major changes but yesterday that wasn't the case. I pushed the sodomize rig button, didn't test out any of the changes, saved, closed the program and today I discovered I lost about half a days work when I showed a friend what I was working on.

Well, I'll never make that mistake again.

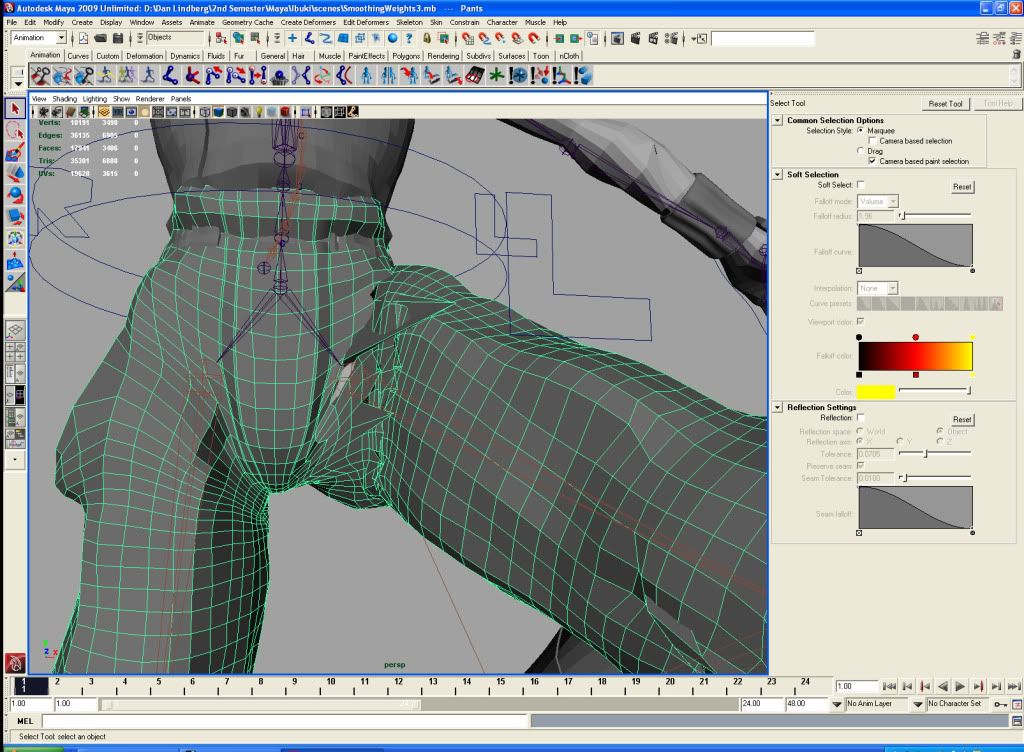
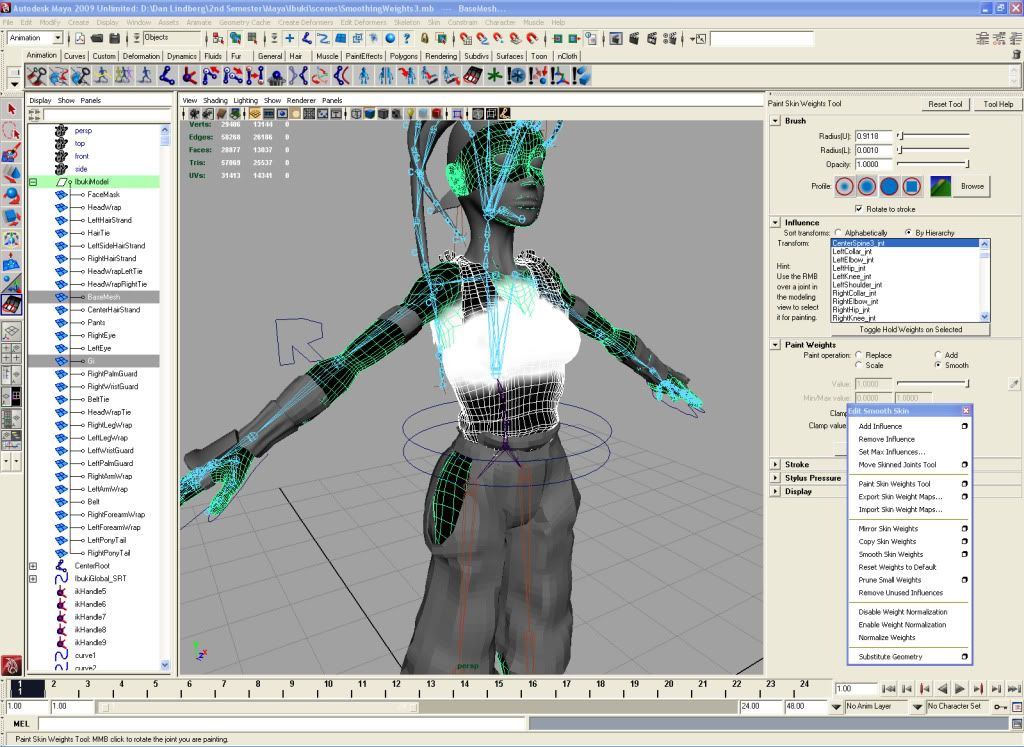
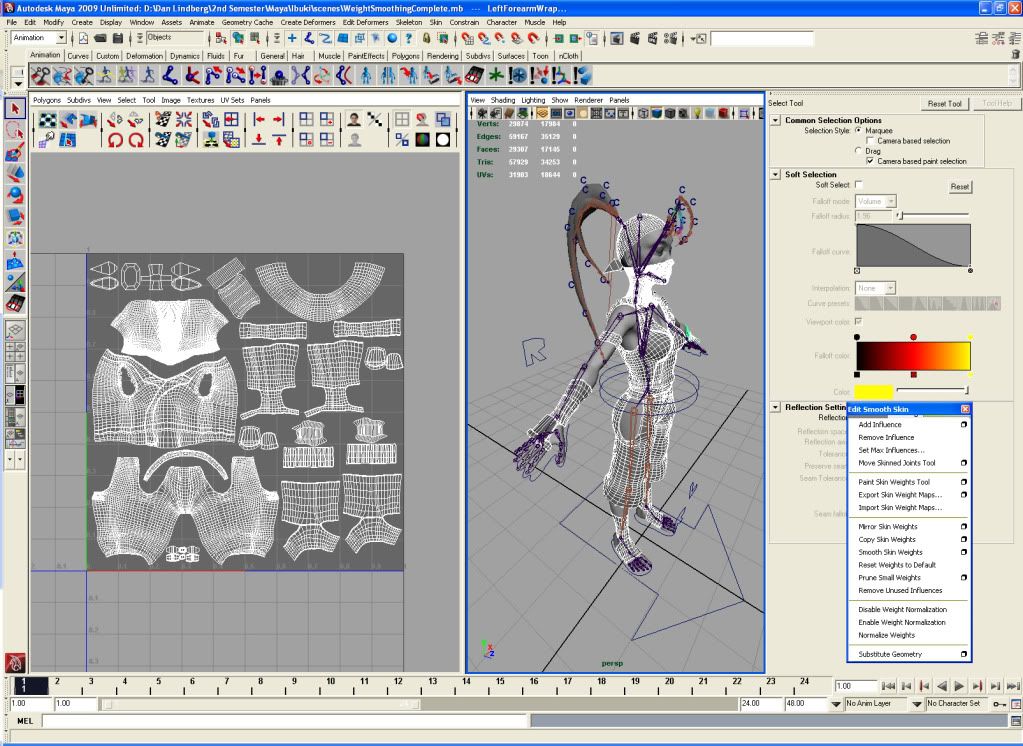
Also I'd like to add that the Smooth Brush in the Paint Skin Weights Tool is a terrible, terrible tool. Even if I remove Joints influence from a particular piece of geometry, like how the ankle Joints have no business influencing the pants, or if I lock/hold the Joints in the Paint Skin Weight Tool option the Smooth Brush STILL adds value anomalies and gives me this ridiculous deformations that simply should not be happening. The Smooth Brush doesn't logically spread the value between the only two unlocked/unheld Joints that should be influencing the geometry it gives value to random joints in the hierarchy. I've spent so much time trying to make Smooth Brush not suck, I could have spent the same time just manually painting in the values with the Replace Brush, which is what I'm going to do now. I'll manually paint in the values on one side and mirror everything.

Monday, June 15, 2009

Ibuki WIP, update 7 - Weight Painting Fun Times!

Weight painting has been a bit of an exercise in frustration, partially because I'm learning how to do it in a new program and I always seem to struggle with achieve the level of deformation that I want but I've also been encountering this weird issue with the smoothing brush. Every time I try to smooth the values between two joints I get this anomaly where a small percentage of deformation value is assigned to what seems to be a really random joint far, far down in the hierarchy. Like the ball of the foot joint will somehow control some small percentage of the values of a bit of geometry that should be entirely controlled by the C.O.G. or hip joint. It's been kind of maddening trying to fix all of these little weird niggling issues.


The weight painting is done, for now, I'm fairly certain that once I start to animate or pose the character I'll encounter some hideous issues. That always seems to happen. At least I can finally move on to texturing and normal mapping. I may have to come up with some basic eye constraints, or I could just get by with simply rotating her eyes when I pose her.

I can see the light is at the end of the tunnel.

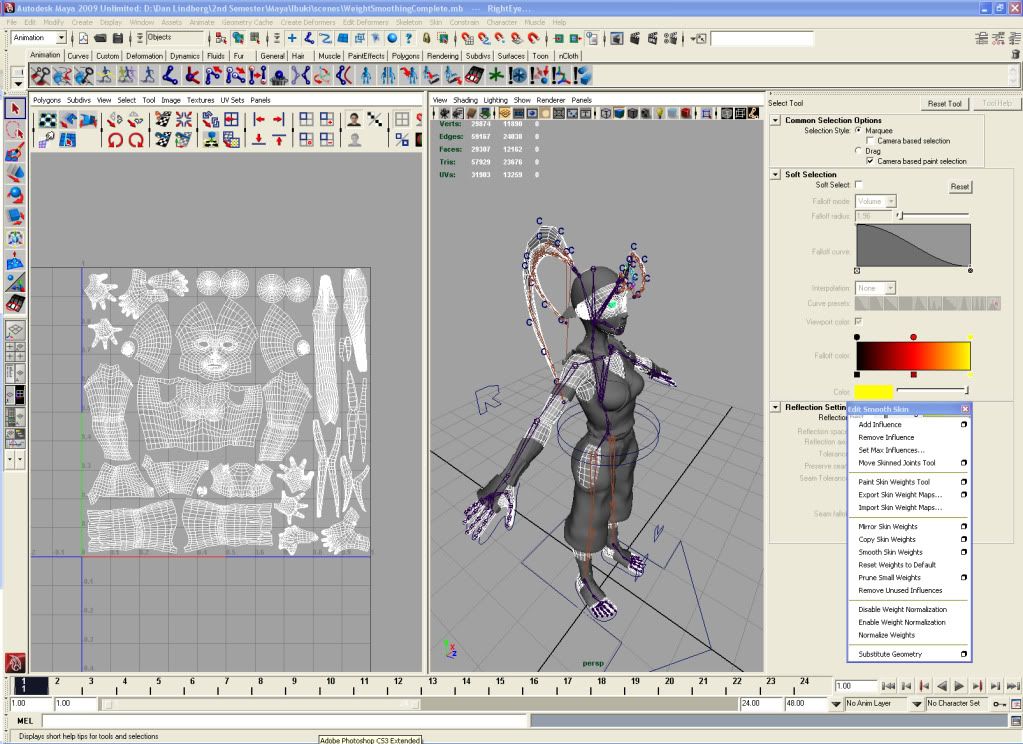
Here are my (likely less than impressive) UV's. I have no aspirations to be a texture artist so my UV maps probably aren't organized as effeciently as they could be, there's probably some space I could maximiaze a bit better, but whatever. There's no overlapping UV's, which I understand would be my largest cause for concern when normal mapping.


Tuesday, June 2, 2009

Ibuki WIP, update 5

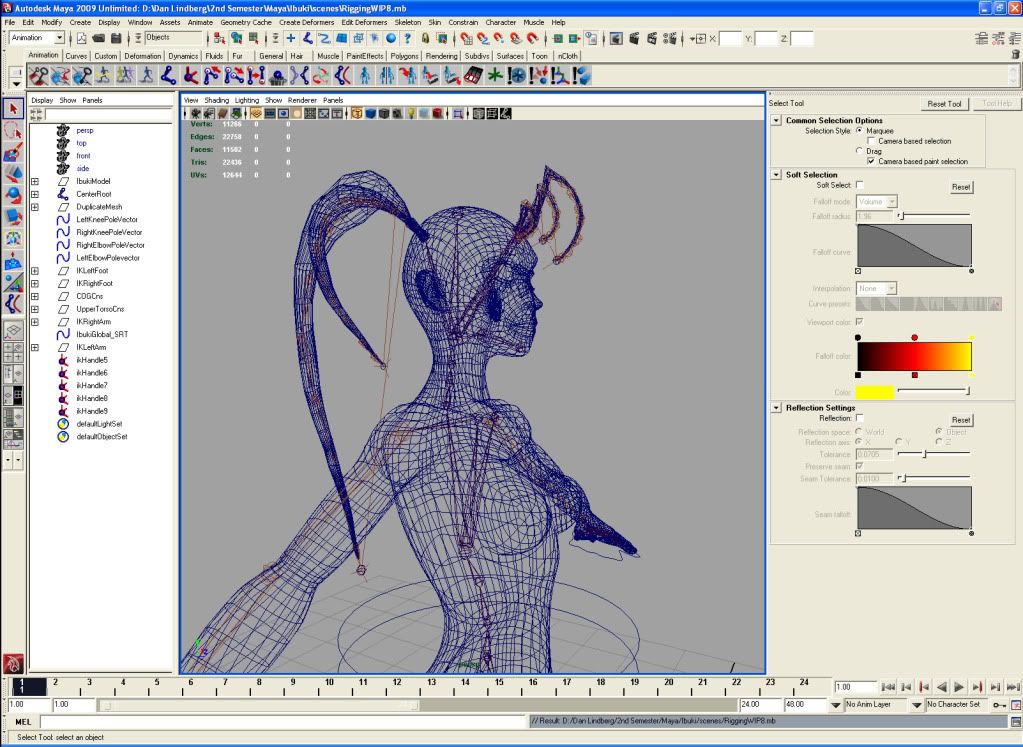
I've begun learning how to rig in Maya. maya's joint system seems to be a bit more flexible than XSI's bones while setting up constraints in Maya is...different. I have fixed the orientation of all my joints, making sure their axis' are facing the correct way so things do go snakey with additive rotation. I've got the IK set up on both the legs and arms, the feet/leg IK have successfully been constrained, everything's been appropriately named and labeled so the initial weighting will work out well, the COG and upper torso have both been constrained to allow for independent upper body movement. All I have left are the hands IK constraints and some curve constraints for the ponytails. Then weight painting fun times can begin.