Monday, June 15, 2009

Ibuki WIP, update 7 - Weight Painting Fun Times!

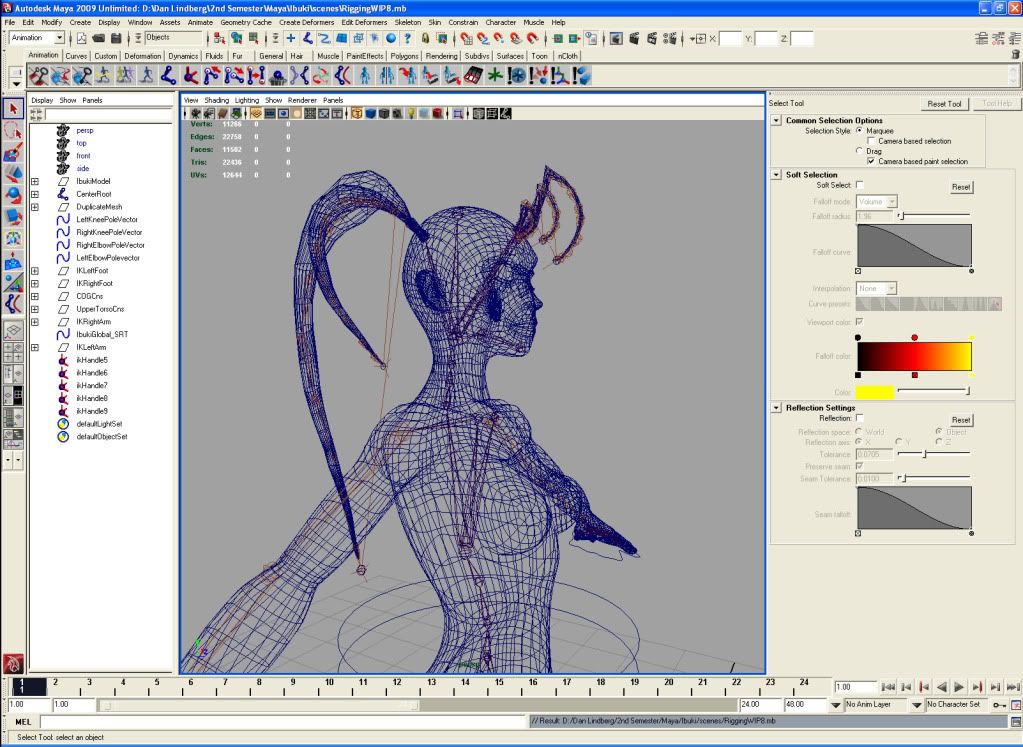
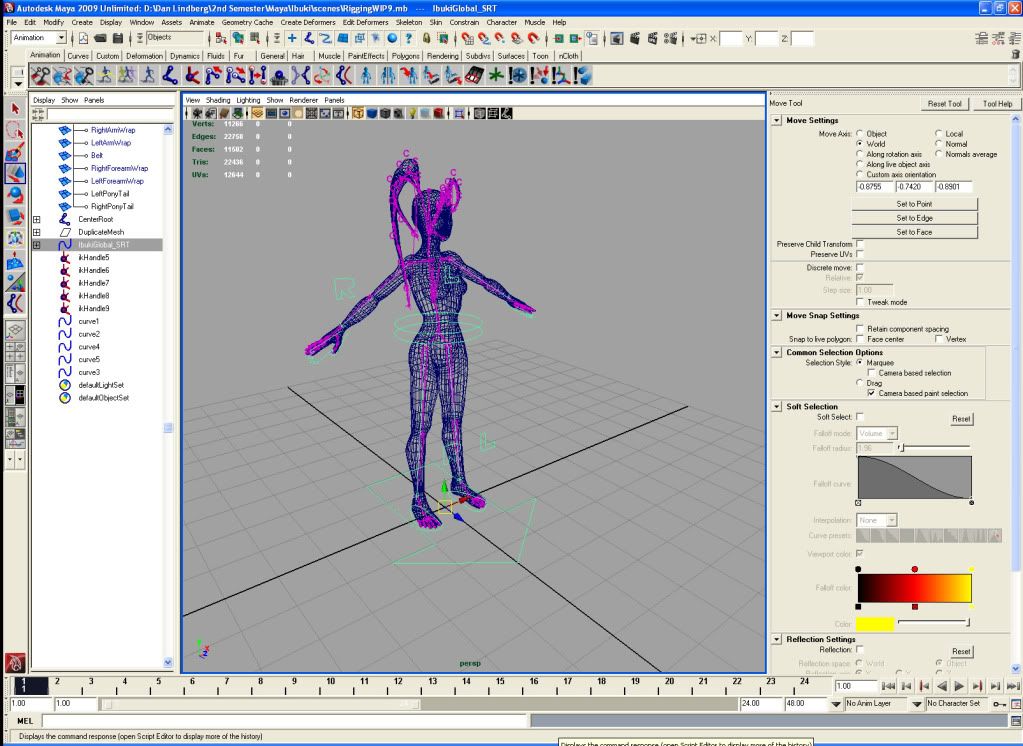
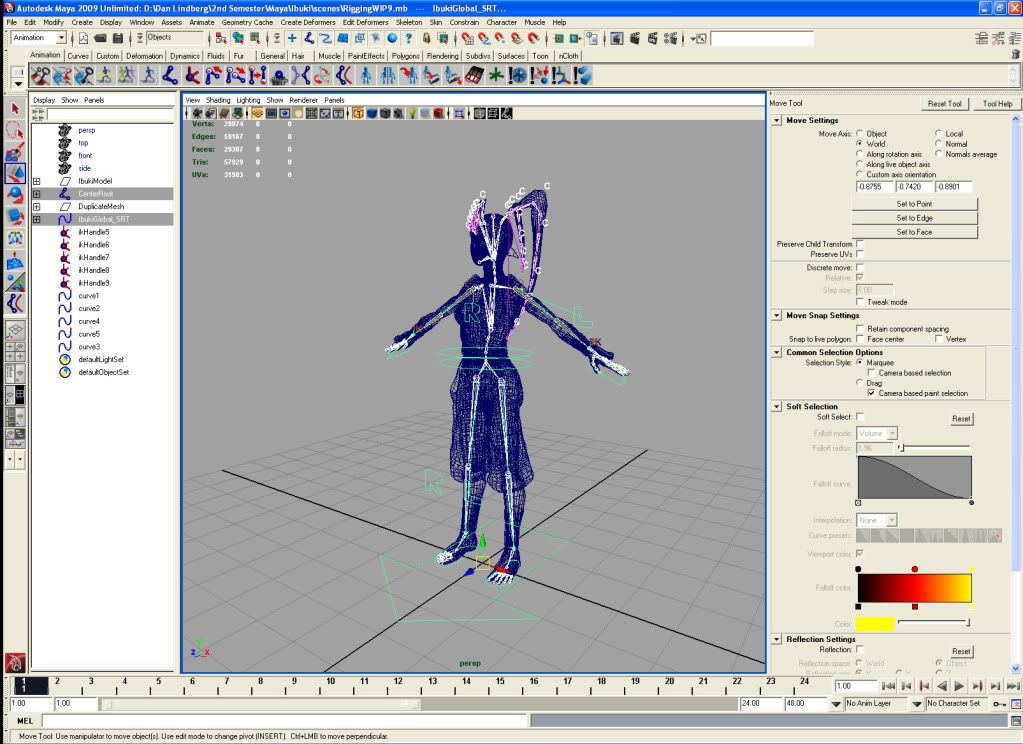
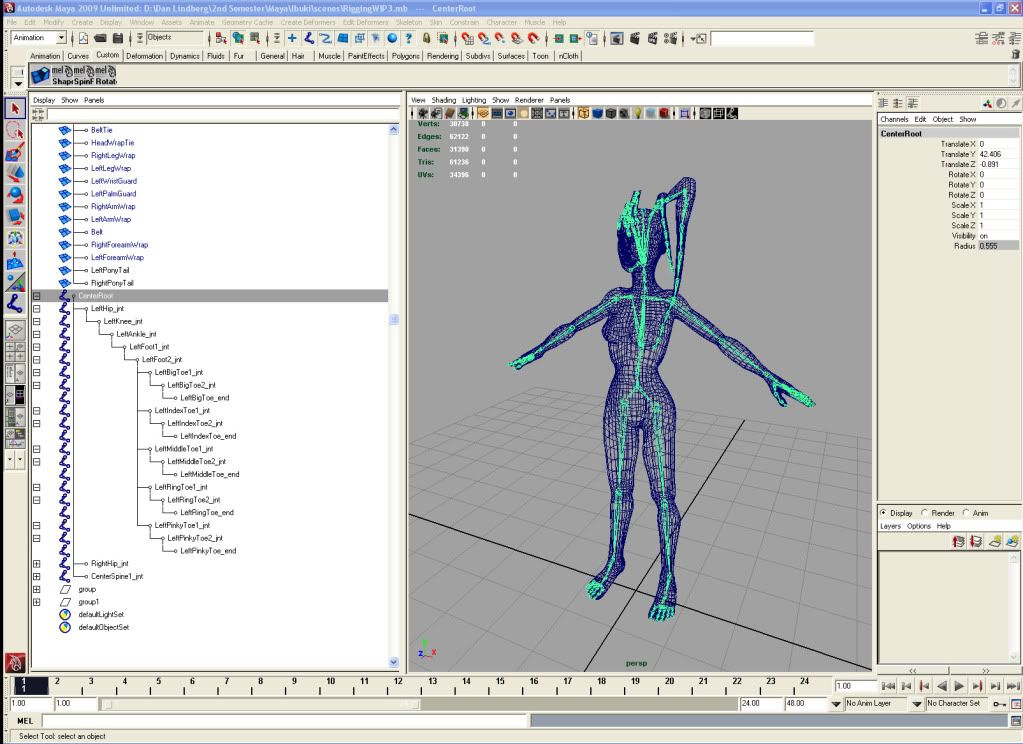
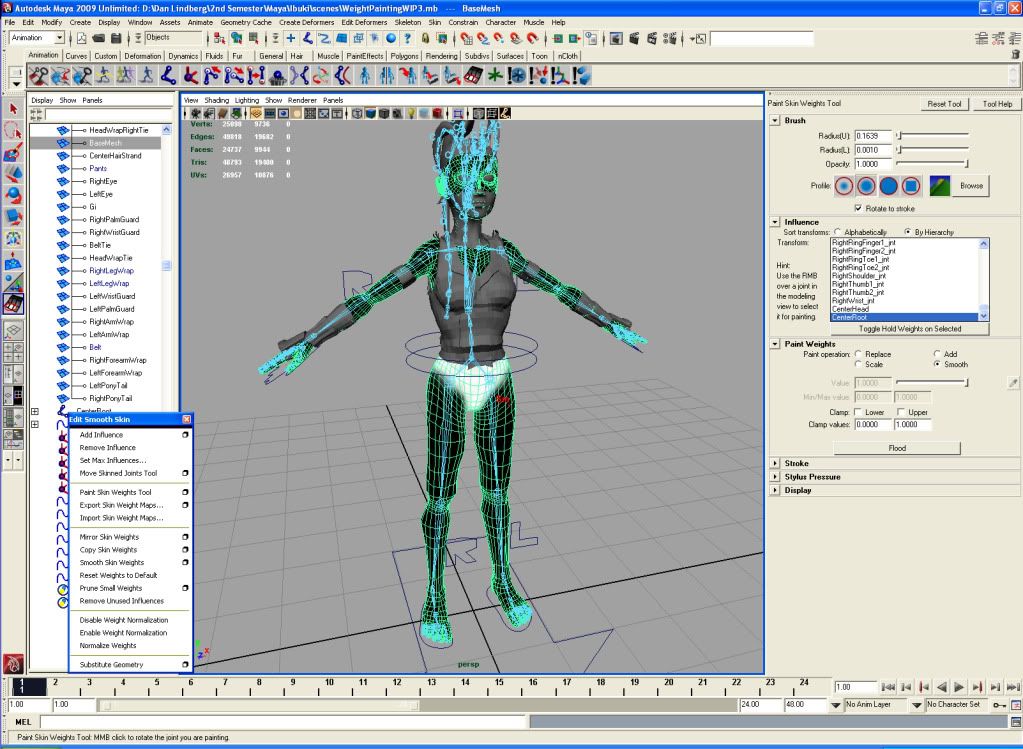
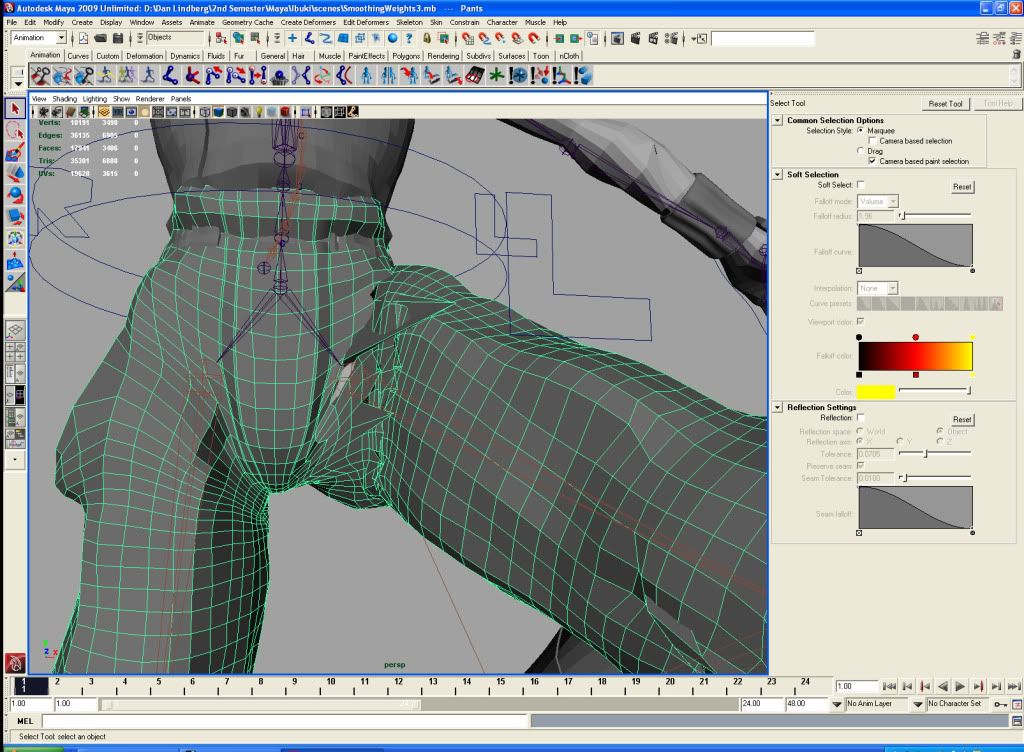
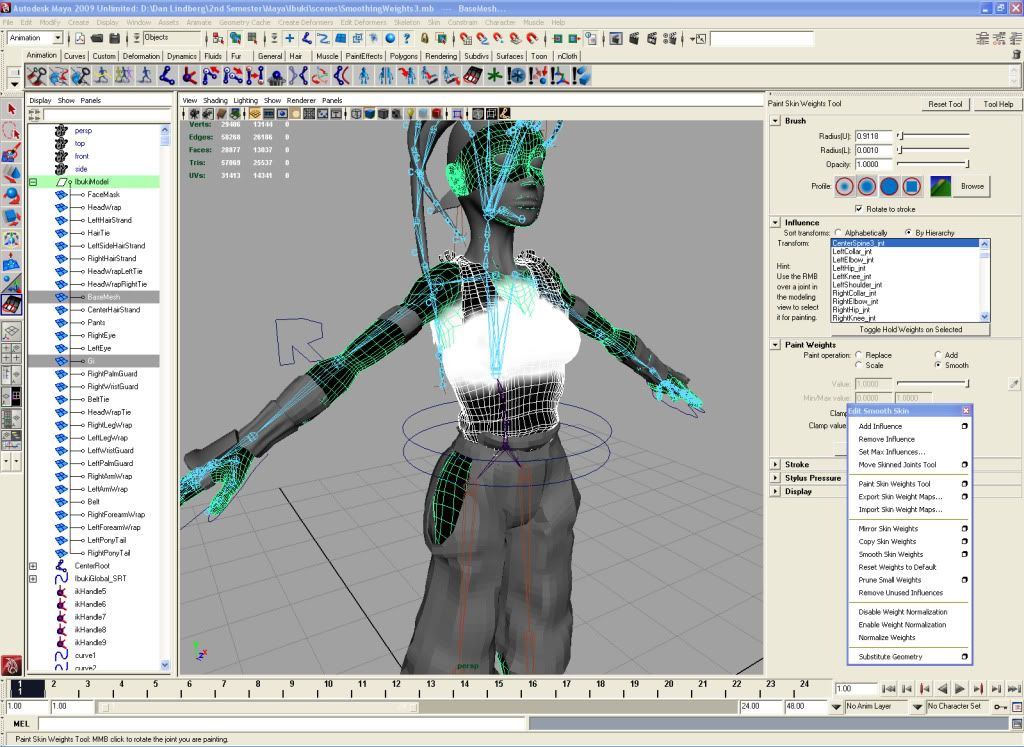
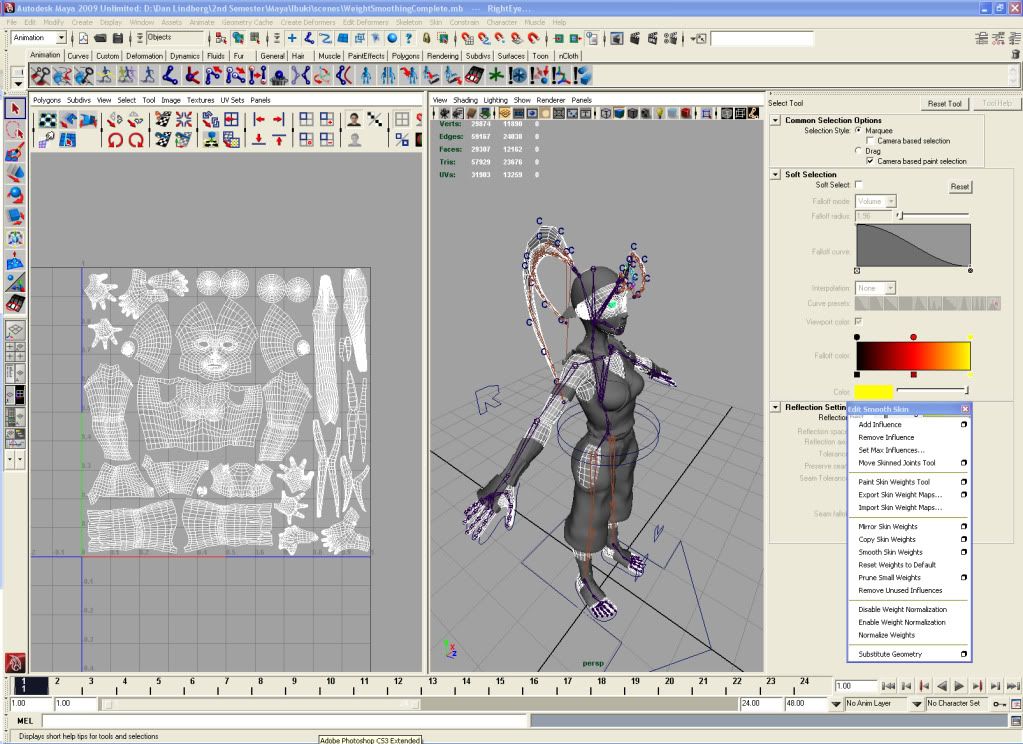
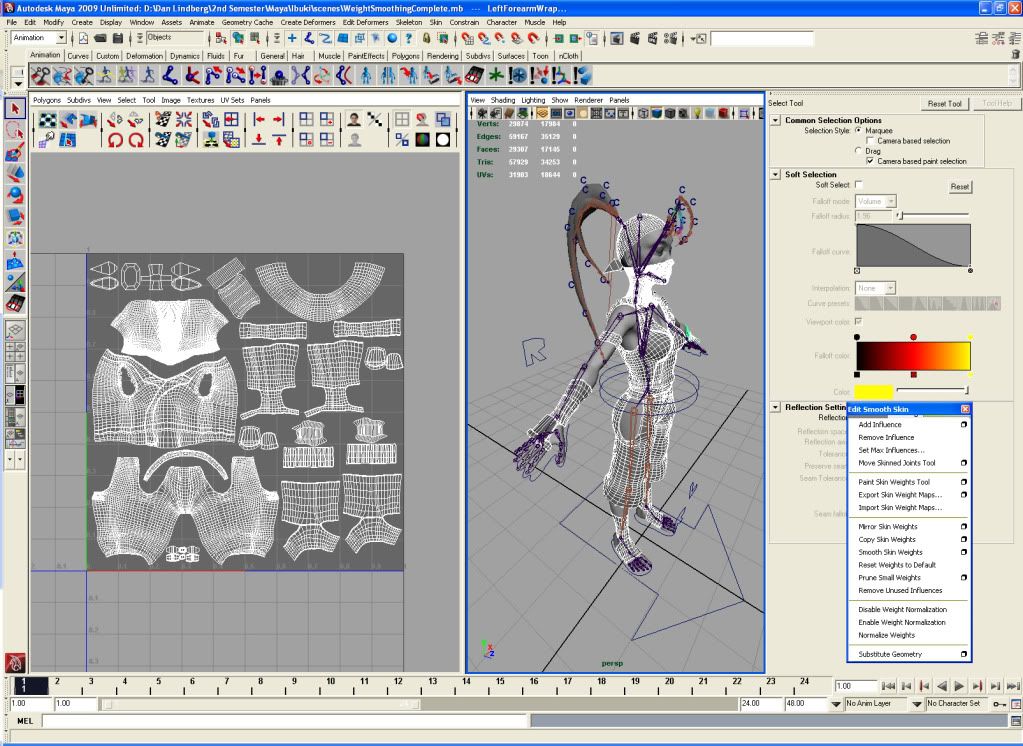
Weight painting has been a bit of an exercise in frustration, partially because I'm learning how to do it in a new program and I always seem to struggle with achieve the level of deformation that I want but I've also been encountering this weird issue with the smoothing brush. Every time I try to smooth the values between two joints I get this anomaly where a small percentage of deformation value is assigned to what seems to be a really random joint far, far down in the hierarchy. Like the ball of the foot joint will somehow control some small percentage of the values of a bit of geometry that should be entirely controlled by the C.O.G. or hip joint. It's been kind of maddening trying to fix all of these little weird niggling issues.


The weight painting is done, for now, I'm fairly certain that once I start to animate or pose the character I'll encounter some hideous issues. That always seems to happen. At least I can finally move on to texturing and normal mapping. I may have to come up with some basic eye constraints, or I could just get by with simply rotating her eyes when I pose her.

I can see the light is at the end of the tunnel.

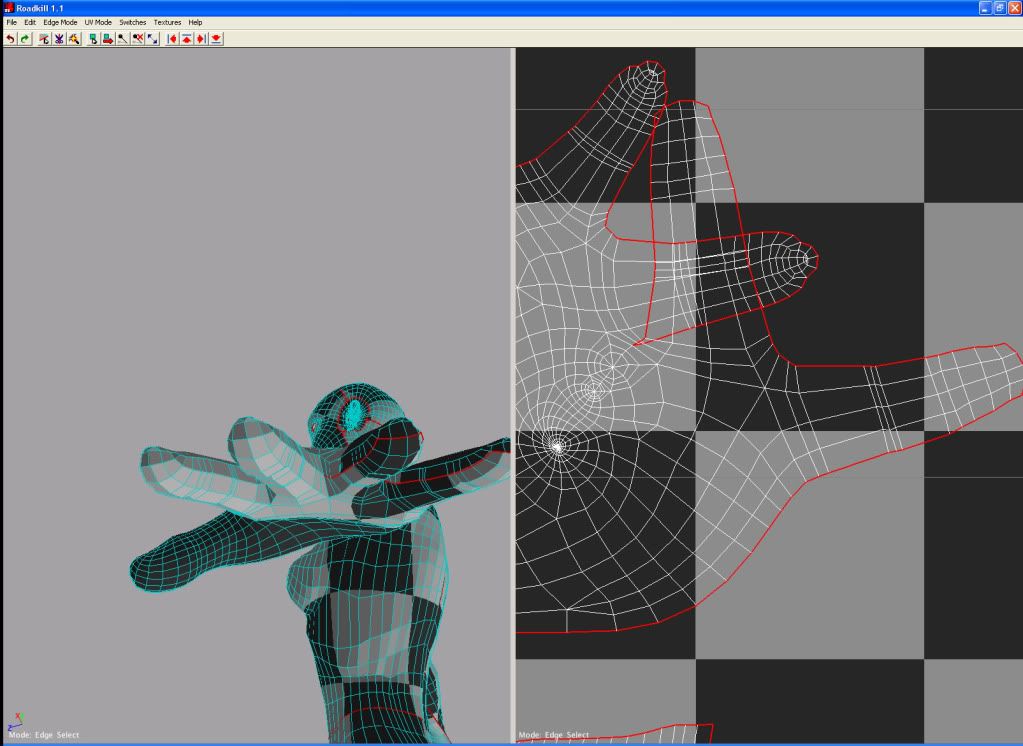
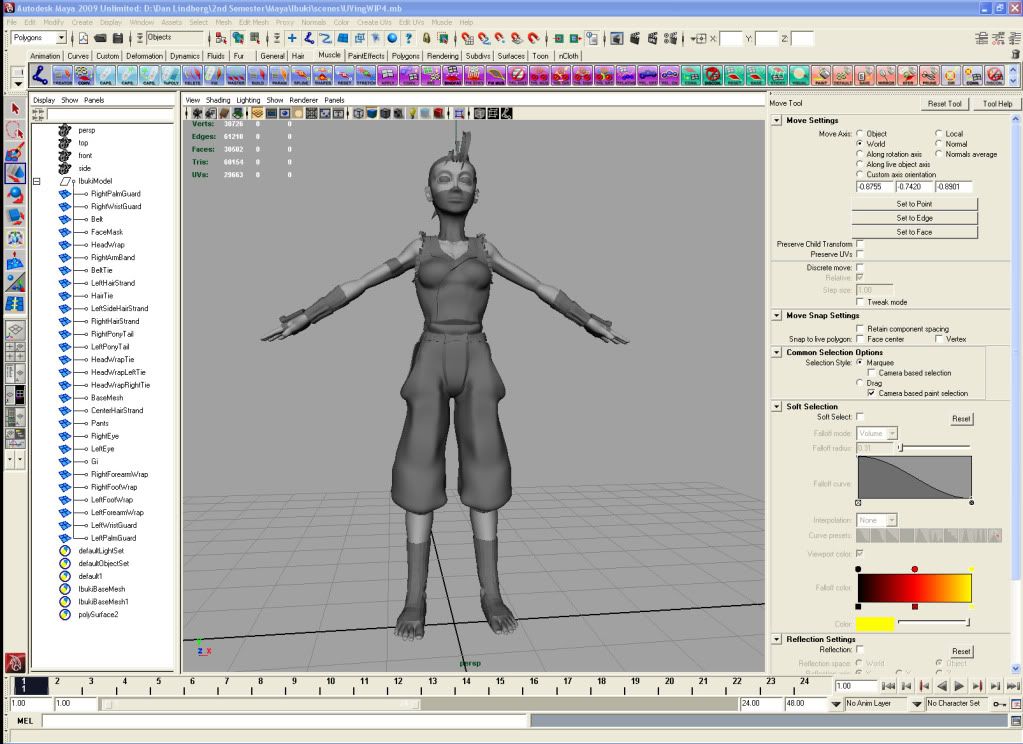
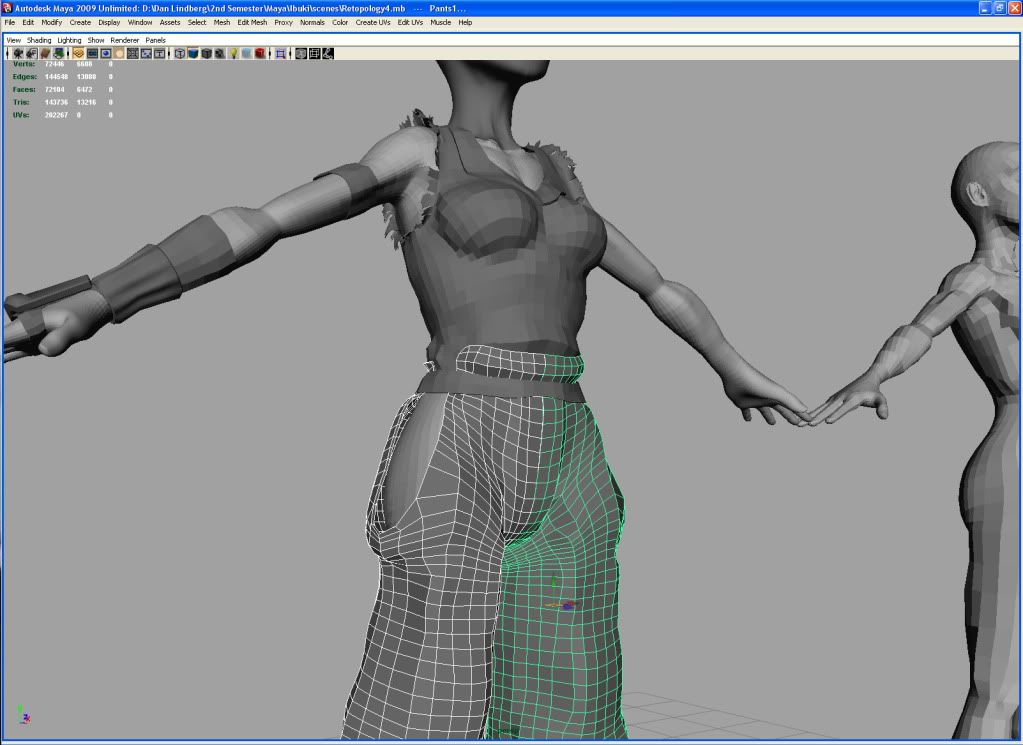
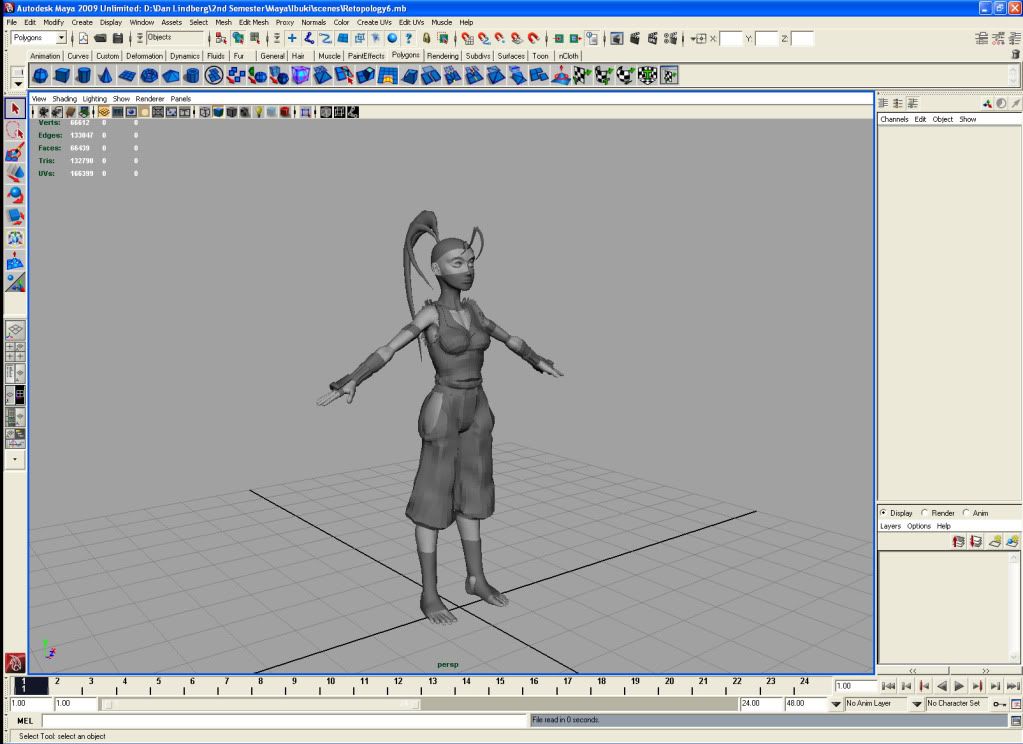
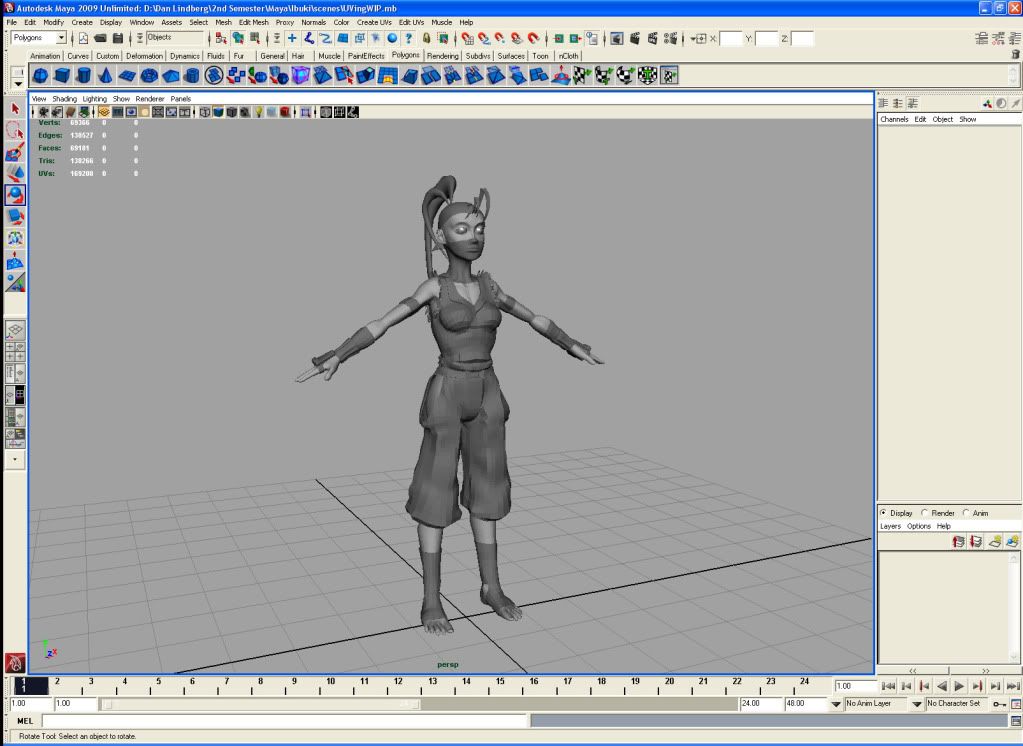
Here are my (likely less than impressive) UV's. I have no aspirations to be a texture artist so my UV maps probably aren't organized as effeciently as they could be, there's probably some space I could maximiaze a bit better, but whatever. There's no overlapping UV's, which I understand would be my largest cause for concern when normal mapping.
Tuesday, June 2, 2009

Ibuki WIP, update 5

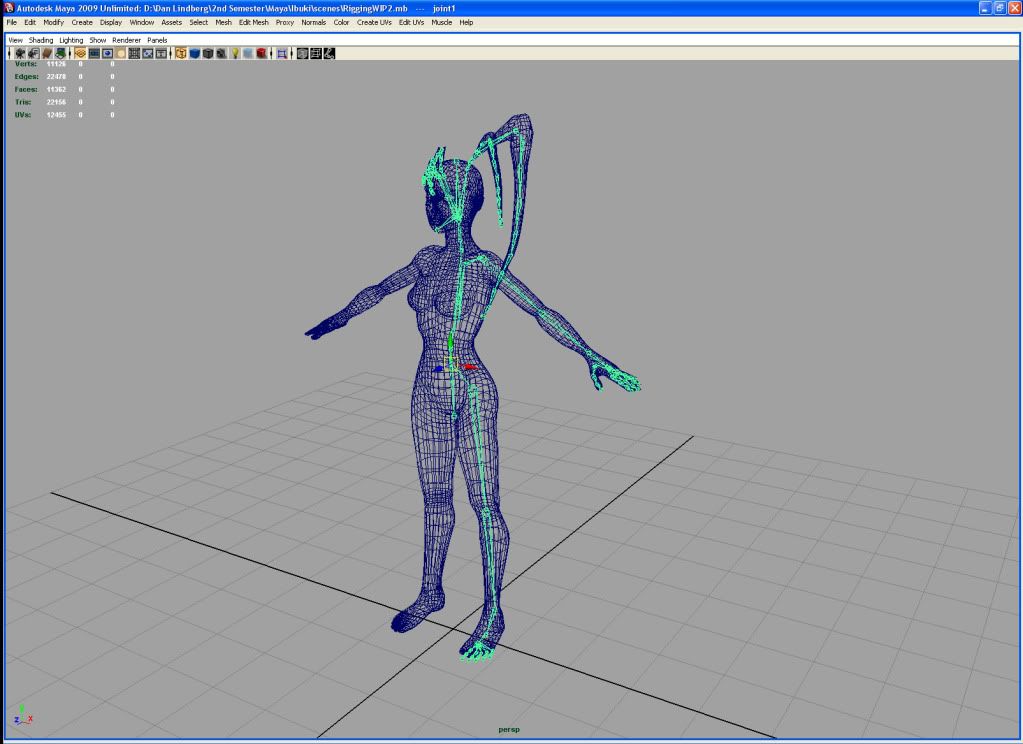
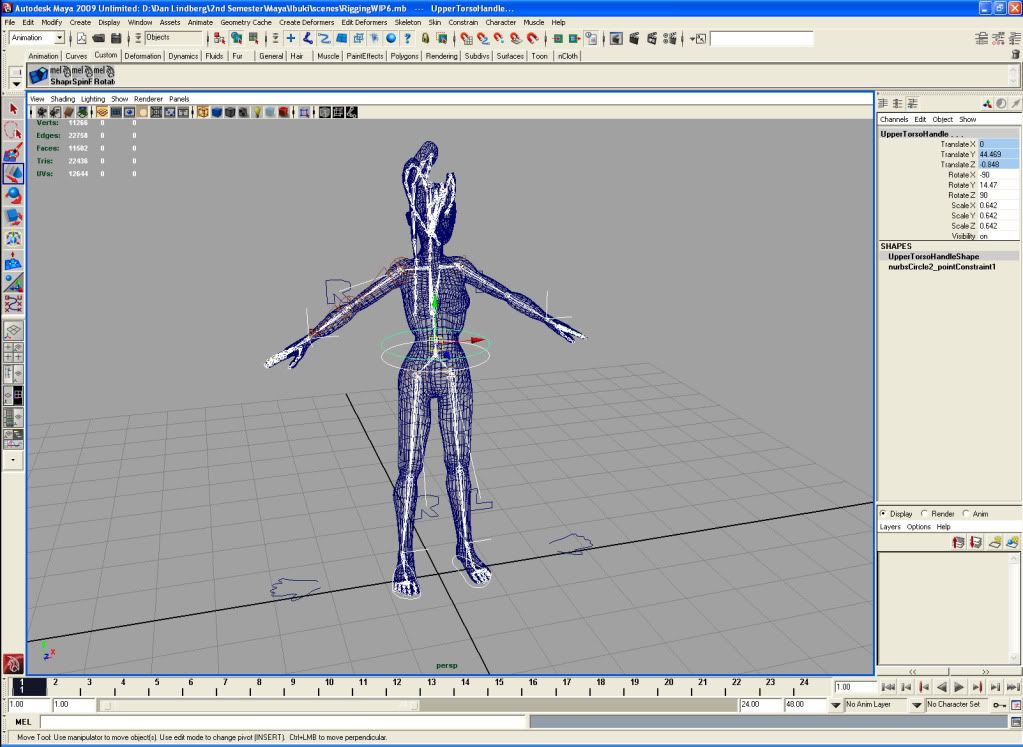
I've begun learning how to rig in Maya. maya's joint system seems to be a bit more flexible than XSI's bones while setting up constraints in Maya is...different. I have fixed the orientation of all my joints, making sure their axis' are facing the correct way so things do go snakey with additive rotation. I've got the IK set up on both the legs and arms, the feet/leg IK have successfully been constrained, everything's been appropriately named and labeled so the initial weighting will work out well, the COG and upper torso have both been constrained to allow for independent upper body movement. All I have left are the hands IK constraints and some curve constraints for the ponytails. Then weight painting fun times can begin.


Friday, May 29, 2009

Ibuki WIP, update 4

I ended up nuking a lot of the detail I had modeled in the previous week. I deleted all of the volumes the clothing had, basically converting almost every article of clothing to a poly plane because it was simply a nightmare to UV unwrap everything, especially the torn Gi sleeves. I could have left the UV's a mess, gone with little to no detail, relying largely on shaders, lighting and AO to fill in the blanks or used automatic UV's in zbrush but the point of this exercise is to learn other programs and techniques, like normal mapping, that I currently don't know. I also deleted the base mesh and reworked an older iteration because there was too much unneeded complexity, RoadKill was eating up over 50% of my computers physical memory, selecting a single edge had a delay of a few seconds, it was just unworkable.


The good news is it only took me two days to fix everything and make it as painless and simple as possible to UV everything.


I don't know how I would UV anything if it wasn't for RoadKill.


Now I can finally apply what I've been learning about rigging and skinning in Maya. By Wednesday I should have Ibuki fully rigged and skinned leaving just the texturing and normal mapping. The project's going a little slower than I would like but 3d always seems to take more time than you initially imagine.

Monday, May 25, 2009

Ibuki WIP, update 3

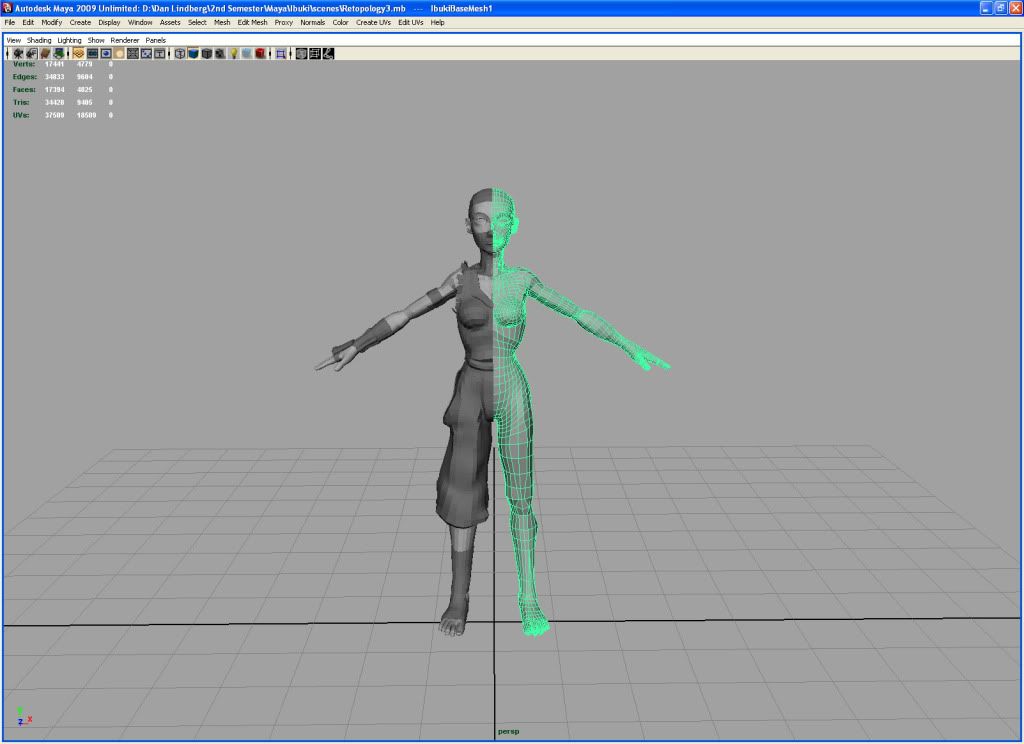
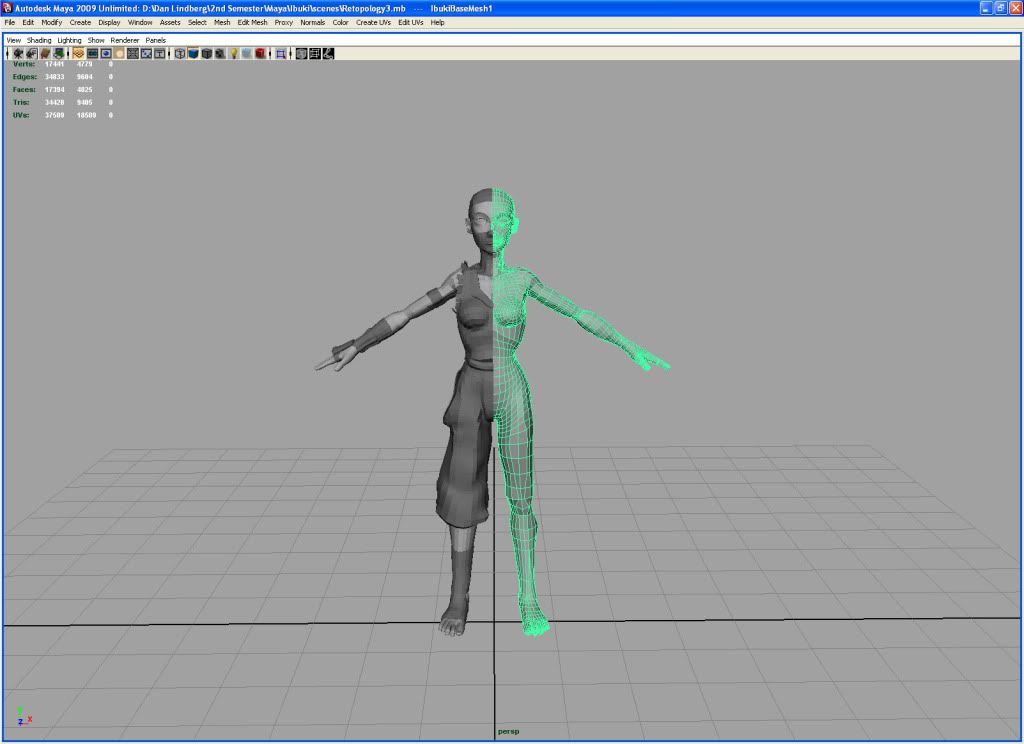
Edge flow was fixed, volume was added to most of the clothing, muscle system was used to shrink wrap various bits of the clothing better to the model, the ripped sleeves, hair strands, belt and head wrap ties were modeled and instances have been merged. Now I'm ready to UV and start to learn maya's rigging system.


I ganked XSI man's eyes and discovered I just have to do some quick resphaping with the head. The sockets aren't quite the right shape.

Tuesday, May 19, 2009

Ibuki WIP update 2

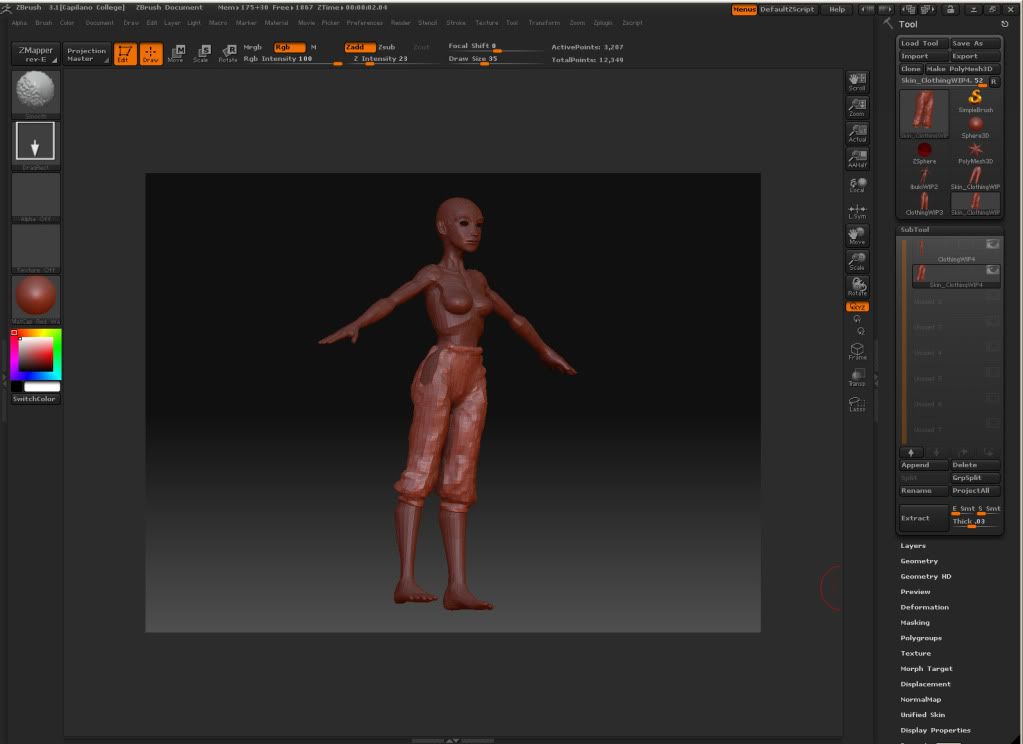
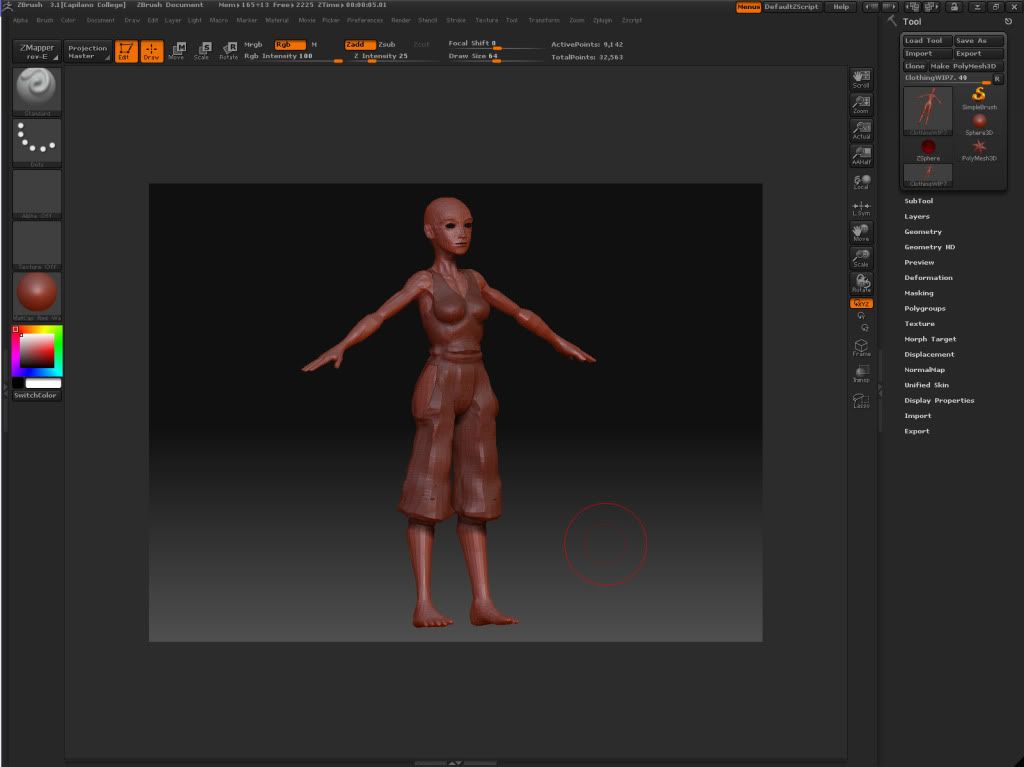
I've taken the base mesh of the character and the clothing out of zbrush back into, added volume to most of the clothing, fixed some of the edge flow and started making the details in maya that I couldn't in zbrush (the gloves and torn gi sleeves).


I re-exported the base mesh back into zbrush, increased the geometry by one subdivision and brought it back to maya and then used maya's muscle system to shrink wrap some of the clothing on to the base mesh.


I imagine that I'll have one more day of modeling details (hair and a few more bits of clothing) and merging the instances together and then I can move on to UV'ing and rigging. I'd probably be further along with this if I wasn't having to split up my time between school and looking for a new place to live. This project is going a little slower than I would like. But it's necessary to learn the ins and outs of the hyper shader and rigging in maya.

Tuesday, May 12, 2009

Ibuki WIP, update 1

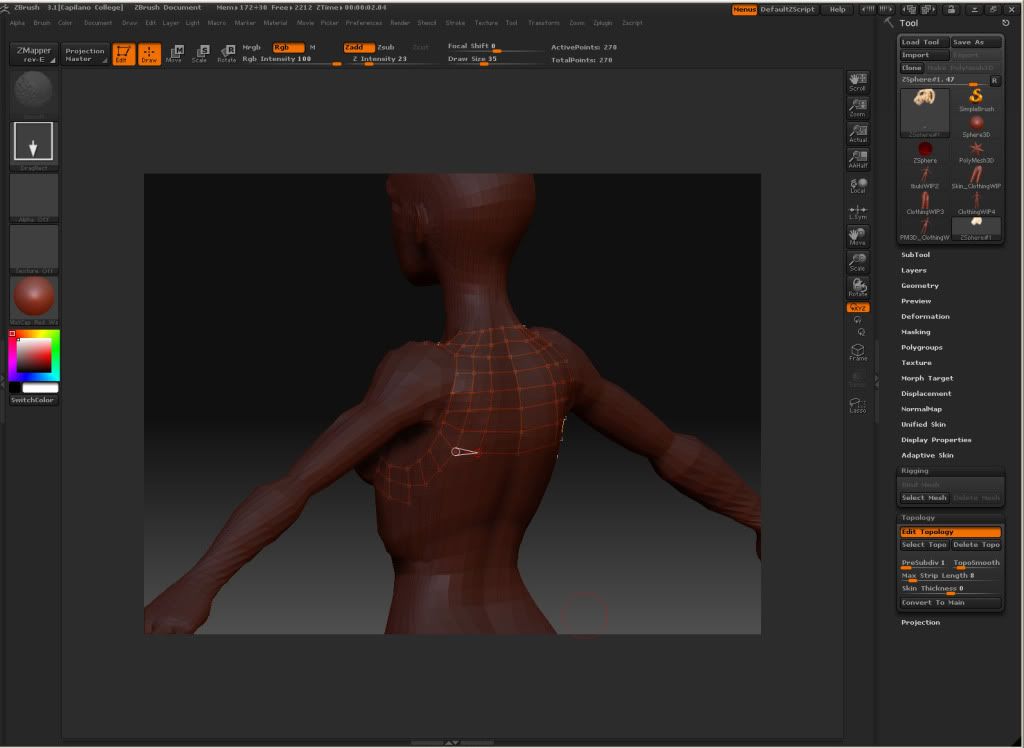
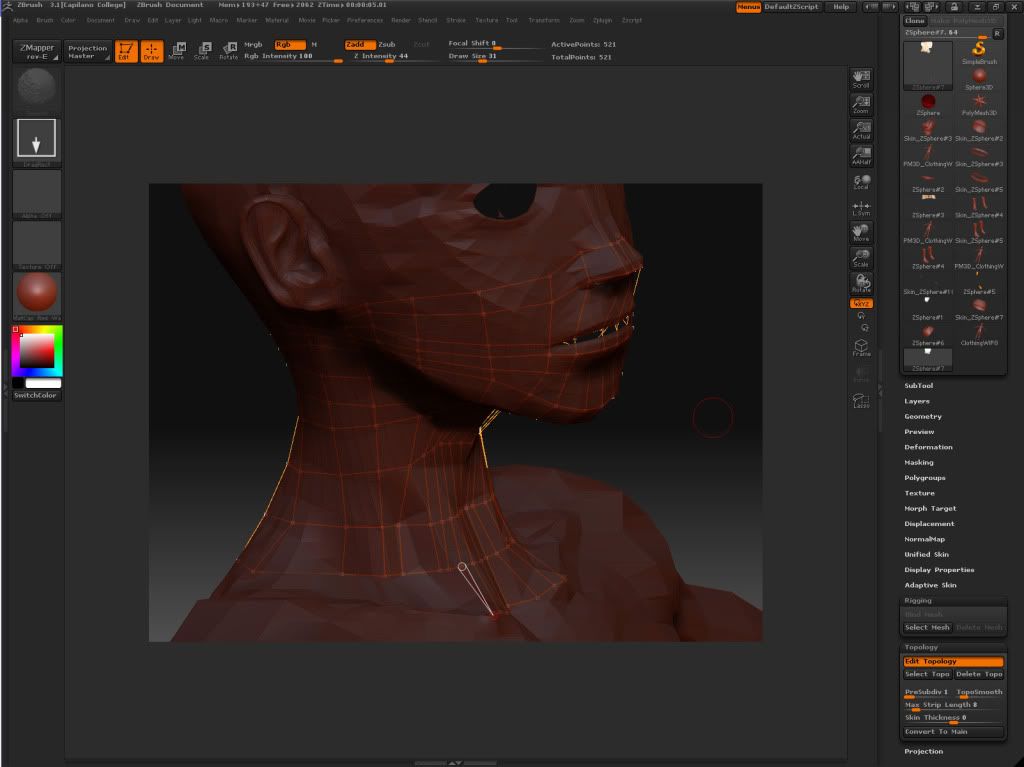
I've been mucking about with Zbrush for the last two days, I have become more accustomed to the interface and more familiar with the various brushes. It's such a powerful tool. I was able to make the clothing pretty painlessly through re-topology. once I finish off the arm bands I'll have the base meshes done. Then I can import all of the items as objs into Maya, clean up the topology a bit, make a few detail items (ripped sleeves, hair, etc.) and UV everything so I can normal map the character. If I decide to go that route.